
Forgetting the passcode of your own iPhone, or buying back a family device nobody remembers the code for, usually ends with a restore. Wondershare Dr.Fone Screen Unlock (iOS) is a Windows and Mac tool that walks you through that process: it removes 4-digit and 6-digit passcodes as well as Touch ID and Face ID locks by putting the device in Recovery Mode and installing fresh iOS firmware. This guide follows the official Windows flow and is clear about the one big trade-off before you start.
Disclosure: this guide contains affiliate links (Awin). If you buy through them we may earn a commission at no extra cost to you. Specs come from the official product page.
What you need
- A Windows PC with Dr.Fone installed (Windows 7 or newer, according to Wondershare) and an internet connection for the firmware download
- Your own iPhone, iPad or iPod touch, charged, and its USB cable
- A Dr.Fone Screen Unlock (iOS) licence, or the Dr.Fone Full Toolkit
- Your Apple ID and password: after a reset, iOS may ask for them to activate the device if Find My was on
Step 1: Understand what unlocking erases
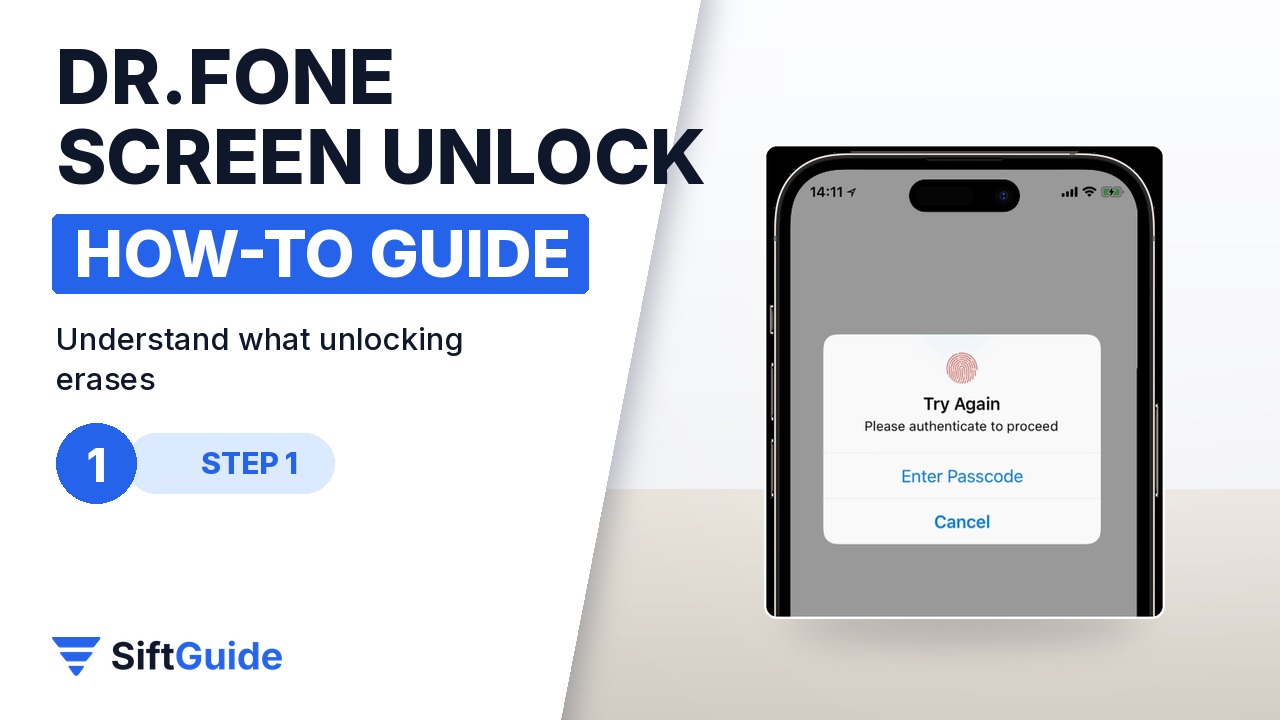
Wondershare is explicit: unlocking a screen with Dr.Fone Screen Unlock (iOS) clears all data on the device, which ends up in a state similar to a factory reset, and Dr.Fone Data Recovery cannot bring that data back afterwards. The tool is also meant only for personal use on devices you own; Wondershare prohibits misuse. So check first whether you have an iCloud or computer backup, charge the iPhone well, and only then continue.
Step 2: Open Screen Unlock on Windows
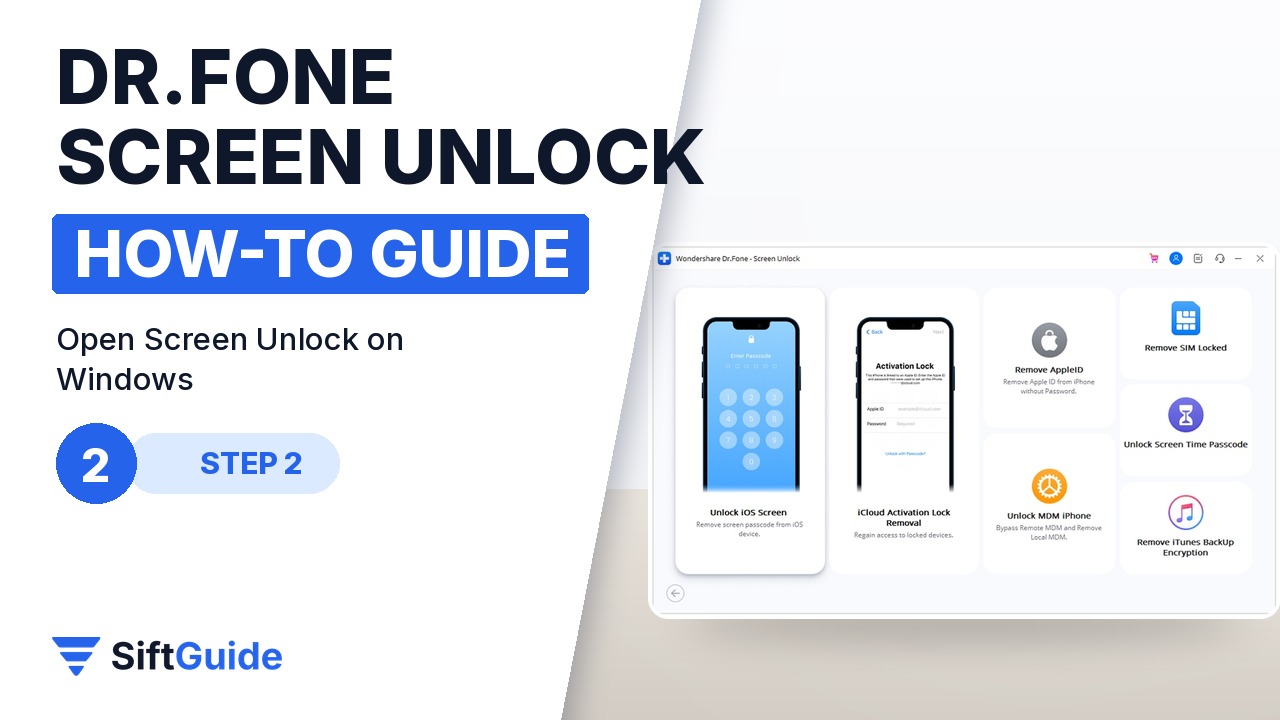
Install Dr.Fone on your Windows PC and launch it. In the new interface, go to Toolbox, then Screen Unlock, then iOS, which opens the tool in a new window. There, select Unlock iOS Screen. Wondershare notes that the Mac version still uses an older interface, but the function works the same way.
Step 3: Recovery Mode or DFU mode
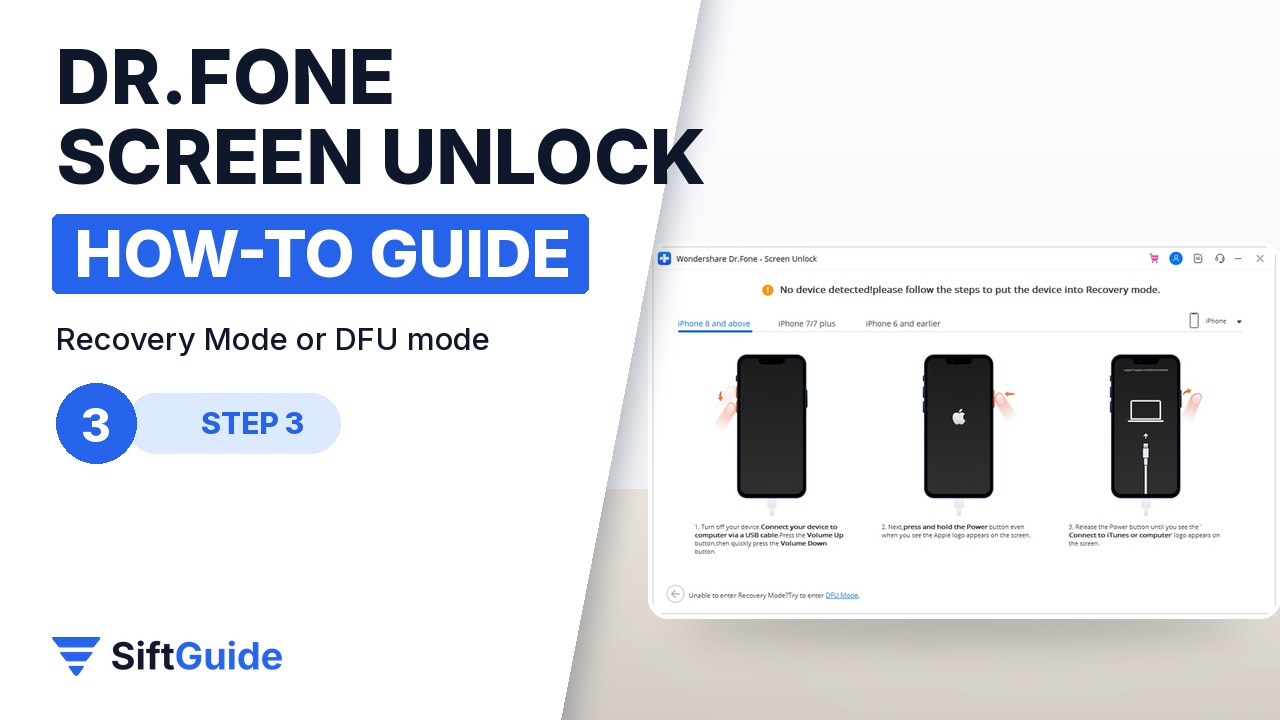
On the next screen, click Start and connect the iPhone with its cable. Dr.Fone then shows instructions to put the device into Recovery Mode, with separate button sequences depending on the model you own. Follow the one that matches your iPhone. If Recovery Mode does not work, click the Try DFU Mode button at the bottom to see the DFU instructions instead.
Step 4: Confirm the model and get the firmware
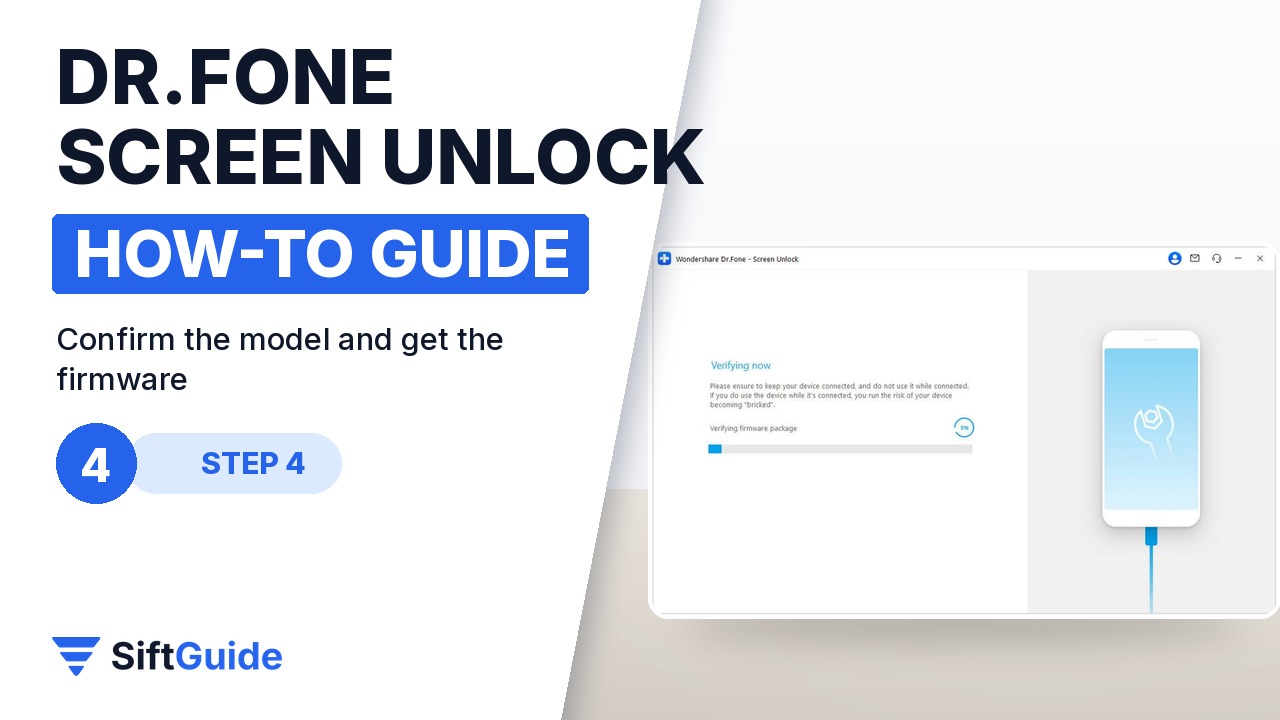
Once the device is in Recovery Mode, Dr.Fone detects the device model and shows it. Check it, correct it if needed, and choose the system version; then click Start. The tool downloads the matching iOS firmware and shows the progress; you can stop the download, and if it is slow, the Copy button gives you the link to download the firmware manually. After the download, the firmware is verified.
Step 5: Unlock Now and finish
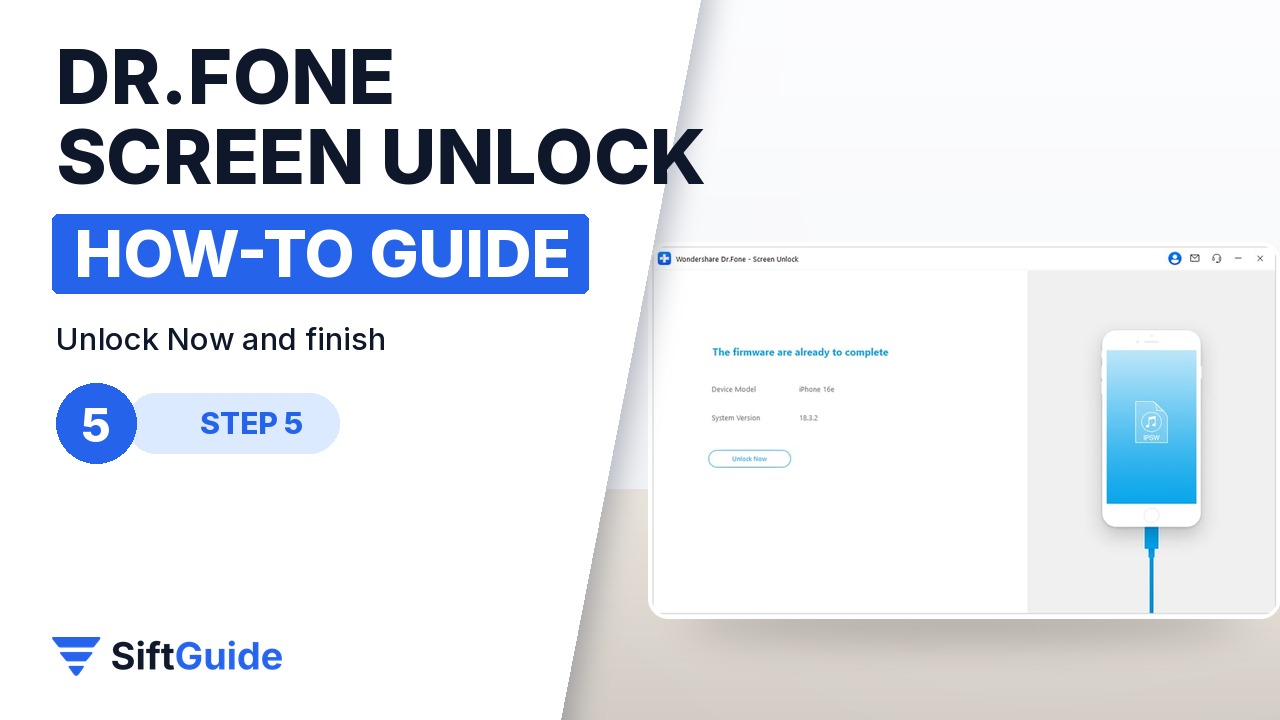
When the firmware is verified, click Unlock Now. A confirmation window asks you to type a code; type it and click Unlock. A progress bar shows the firmware being installed: keep the cable connected the whole time, because Wondershare warns that disconnecting can brick the device. When it reports success, click Done. If the device is still locked, use Try Again to restart the process.
Tip: set up a backup before you ever need this
The unlock gets your iPhone working again but cannot save what was on it. Turning on iCloud Backup, or backing up to a computer from time to time, turns a forgotten passcode into a short restore instead of a lost photo library.
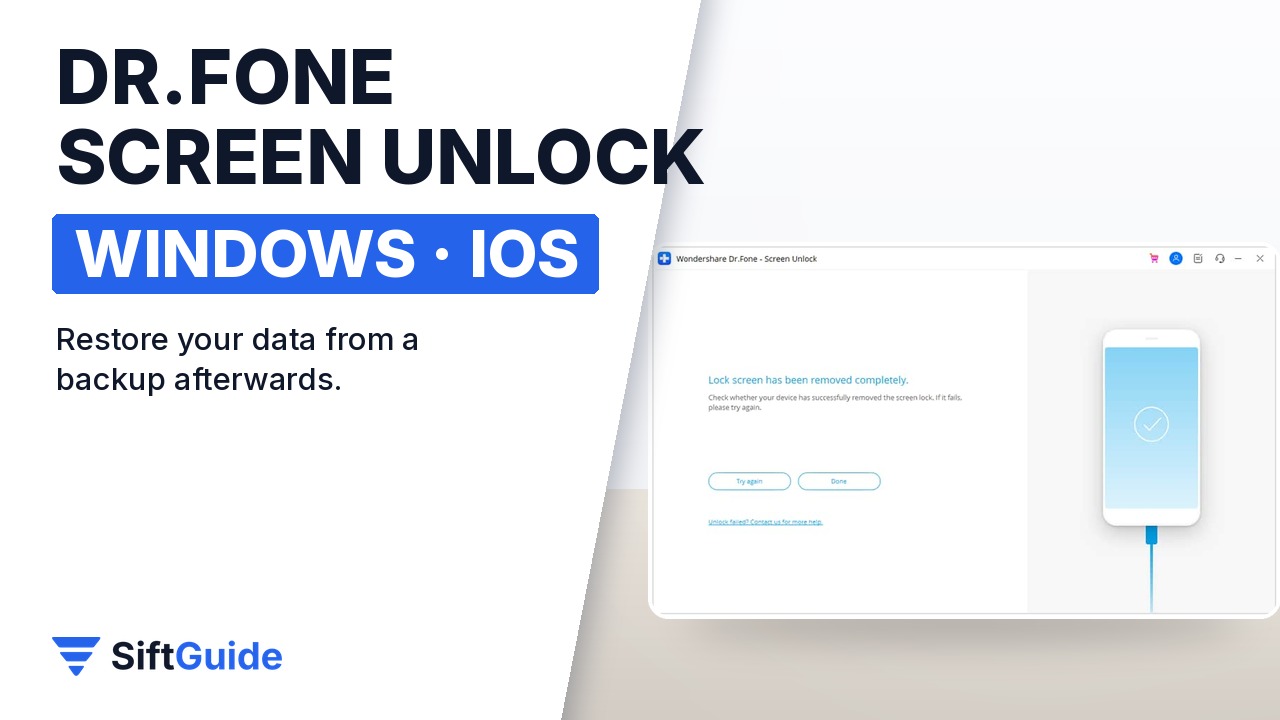
After the unlock, the iPhone starts like a new device: set it up again, sign in with your Apple ID and restore your latest backup. The same licence covers 5 devices on 2 PCs, according to the Wondershare store, so a family can keep it for the next forgotten code.
Wondershare Dr.Fone – Screen Unlock (iOS) for Windows
Removes 4-digit and 6-digit passcodes, Touch ID and Face ID screen locks on iPhone, iPad and iPod touch by reinstalling iOS firmware through Recovery Mode or DFU mode; all data on the device is erased. Price checked on the official Wondershare store on 8 November 2026 for Windows: $49.95 per year (annual plan, auto-renewal, 5 devices / 2 PCs); the store also lists a $34.95 monthly plan and a $59.95 perpetual licence. Prices change, so check the store before you buy.
FAQ
Will I lose my data?
Yes. Wondershare states that unlocking the screen with Dr.Fone Screen Unlock (iOS) clears all data on the device, similar to a factory reset, and that its data recovery tool cannot recover it afterwards.
Which locks can it remove?
According to Wondershare, 4-digit and 6-digit passcodes, Touch ID and Face ID screen locks.
What if Recovery Mode does not work?
Click Try DFU Mode in the tool and follow the DFU instructions for your model instead.
Can I unplug the iPhone during the process?
No. Keep it connected until the tool reports success; Wondershare warns that disconnecting during the firmware install can brick the device.
Can I use it on a phone that is not mine?
No. Wondershare says the software is intended exclusively for personal use, and misuse is prohibited. Use it only on devices you own.
Is there a Mac version?
Yes. Mac plans are listed separately on the store, and the Mac app still uses an older interface with the same function.