
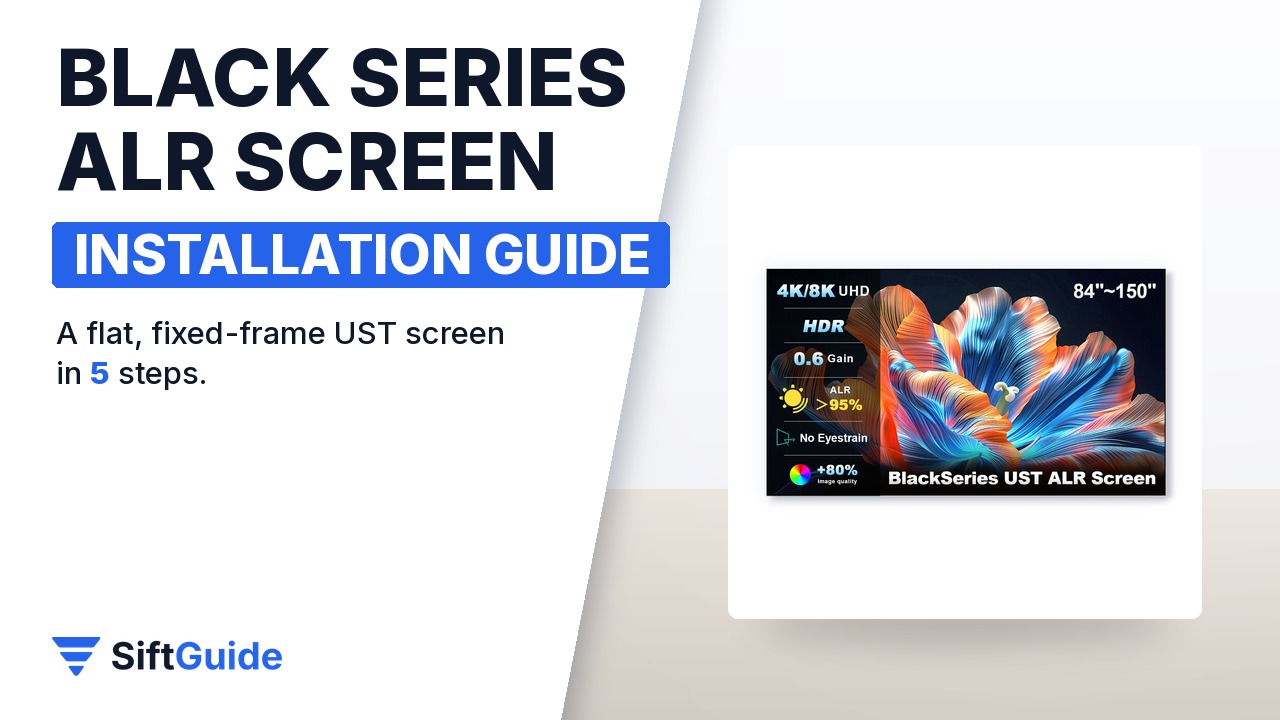
An ultra short throw projector sits a few inches from the wall and fires its light upward at a steep angle, so any ripple in the surface shows up as a bent line in the picture, and ceiling lights wash the image out. The NothingProjector Black Series screen is a fixed-frame ALR/CLR screen made for exactly this setup: a 0.6-gain ST Carbon Black surface that rejects 95% of ambient light, a tensioned aluminum frame and a 1 cm bezel. Here is how to put it together and hang it without creases, following the maker’s own quick guide.
What you need
- The Black Series kit in the size you ordered (84 to 120 inches as one piece, 130 to 150 inches as a spliced version)
- A drill, a spirit level, a tape measure and a pencil for the wall brackets
- A clean, soft area on the floor a little larger than the screen, such as the packing material laid flat
- A second person: the frame is light, but a 100-inch screen is awkward to lift alone
- An ultra short throw projector; the screen is designed for UST models only
Step 1: Pick the size and prepare the floor
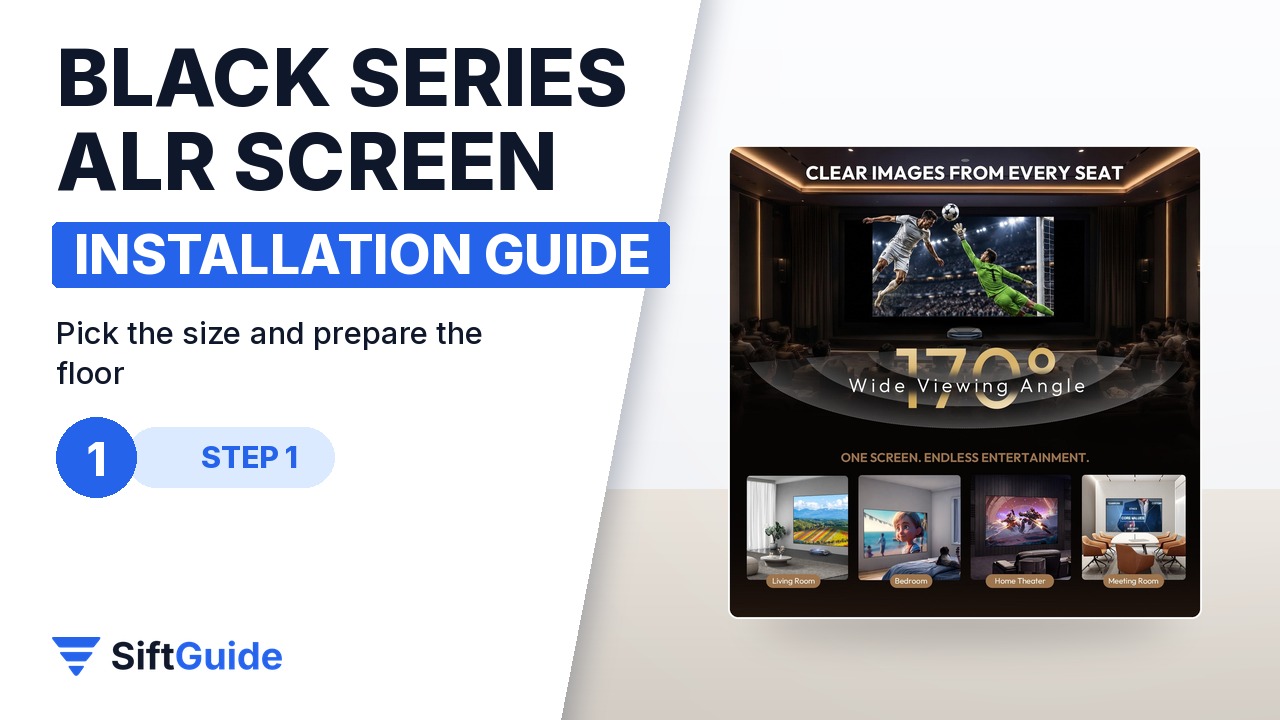
The Black Series comes in 84, 92, 100, 110 and 120 inches, plus 130, 135, 143 and 150-inch spliced versions. Match the size to the image your UST projector can throw from where it will sit, and check the store’s screen size calculator if you are unsure. Before opening the tubes, clear and clean a floor area larger than the screen: the frame is assembled flat, and a pebble under the surface is the easiest way to dent it. The 170-degree viewing angle means seating position matters less than wall space.
Step 2: Join the inner frame and unroll the screen
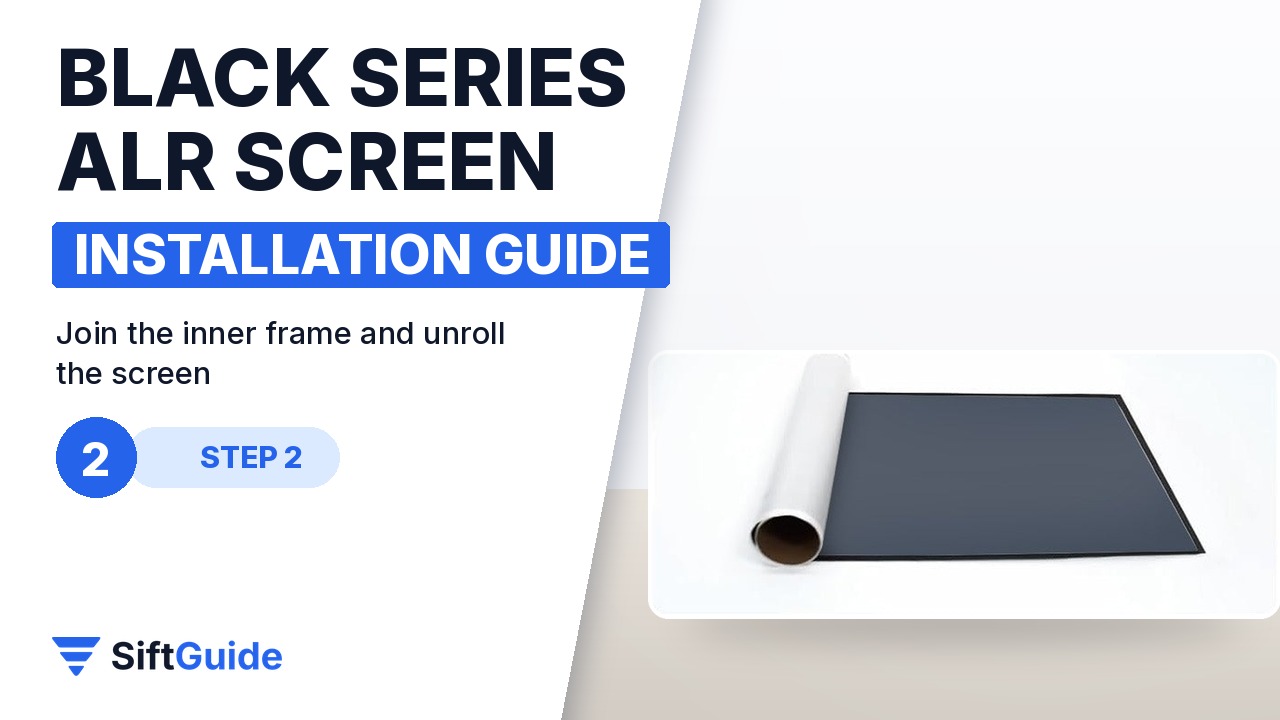
Lay out the frosted aluminum frame pieces and join them into the inner frame, center bar included, as shown in step 1 of the official quick guide. Then unroll the screen next to the frame with the projection side facing the way the guide shows. Handle the surface by its edges, and never fold or crease it: a fold in an ALR coating stays visible under a UST projector.
Step 3: Hook the leaf springs, then fit the outer frame
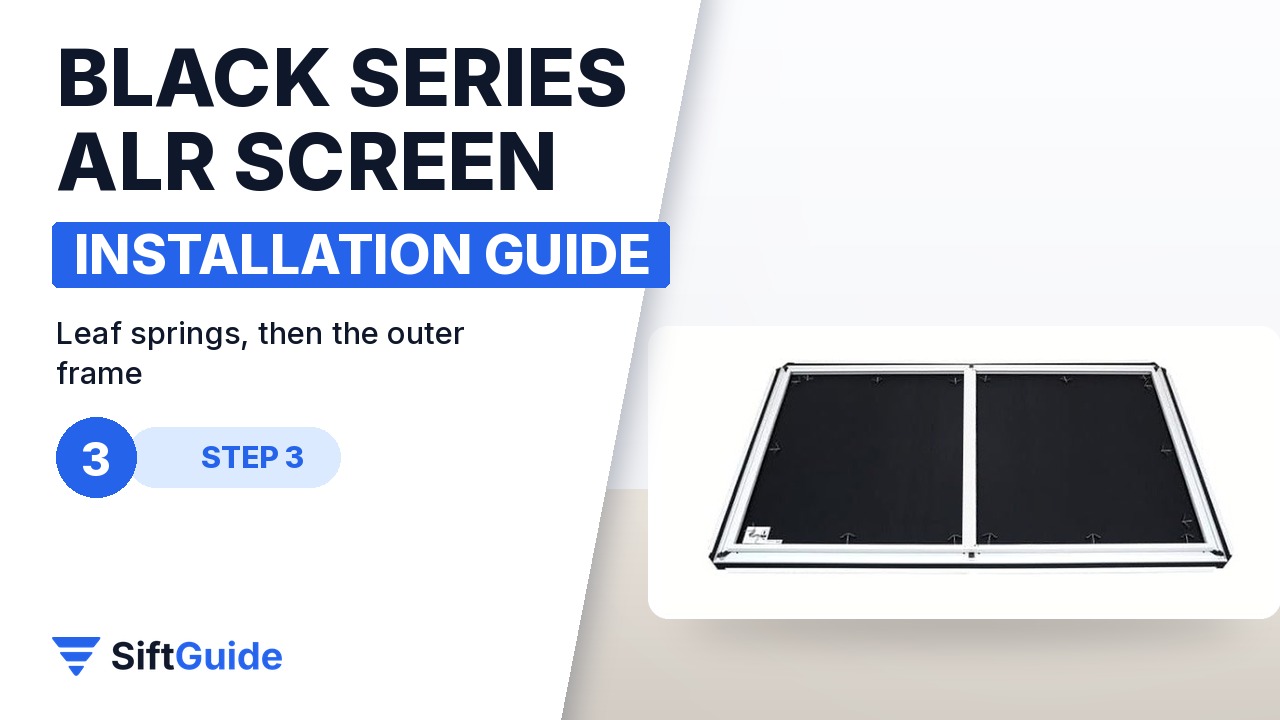
The screen is held in the frame by leaf springs all around the perimeter. Hook them evenly, working from the middle of each side toward the corners, so the tension pulls the surface flat instead of pulling it diagonally. Once every spring is in place, clip on the outer frame bars, which give the 1 cm bezel its clean edge. The black backing behind the surface keeps light from passing through and helps contrast.
Step 4: Level and fix the wall brackets
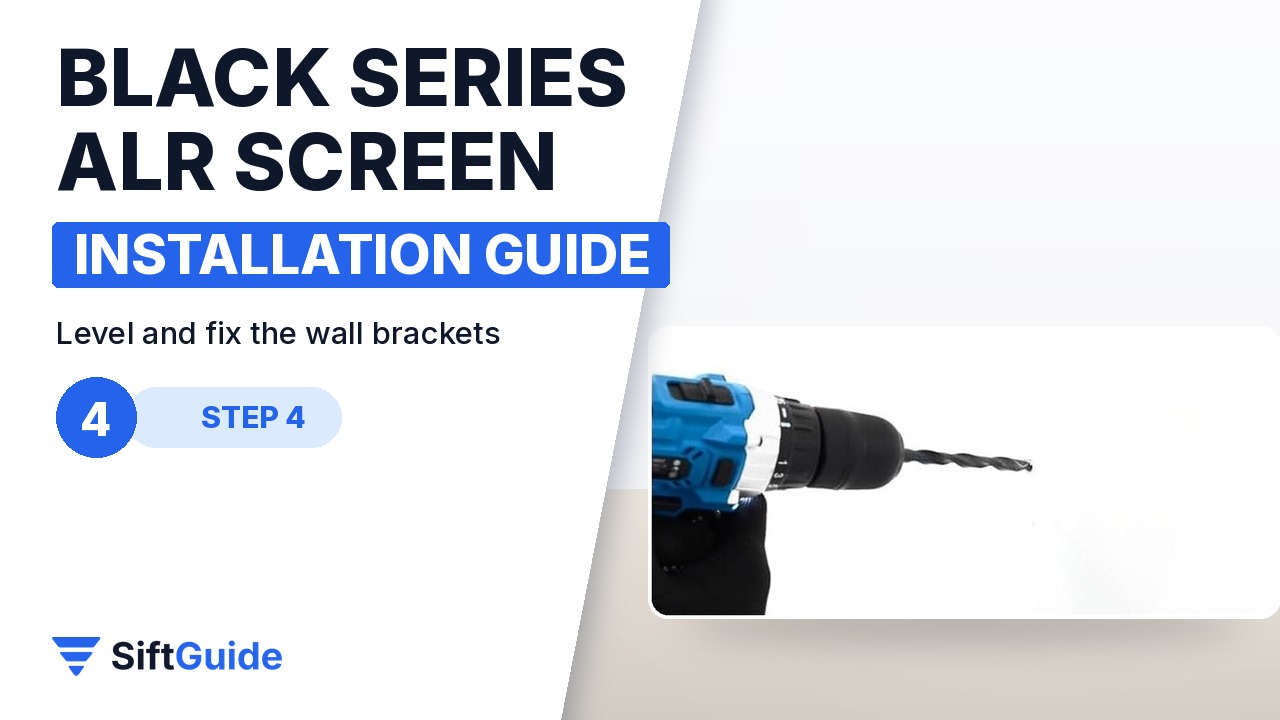
Decide the screen height first: it depends on where the UST projector sits and on its manual, which specifies the gap between the top of the projector and the bottom of the image. Mark the bracket positions with a tape measure and a spirit level, drill, and fix the brackets with fixings suited to your wall type. A bracket that is a few millimetres off level shows as a tilted image, so check twice before drilling.
Step 5: Hang the screen and align the projector
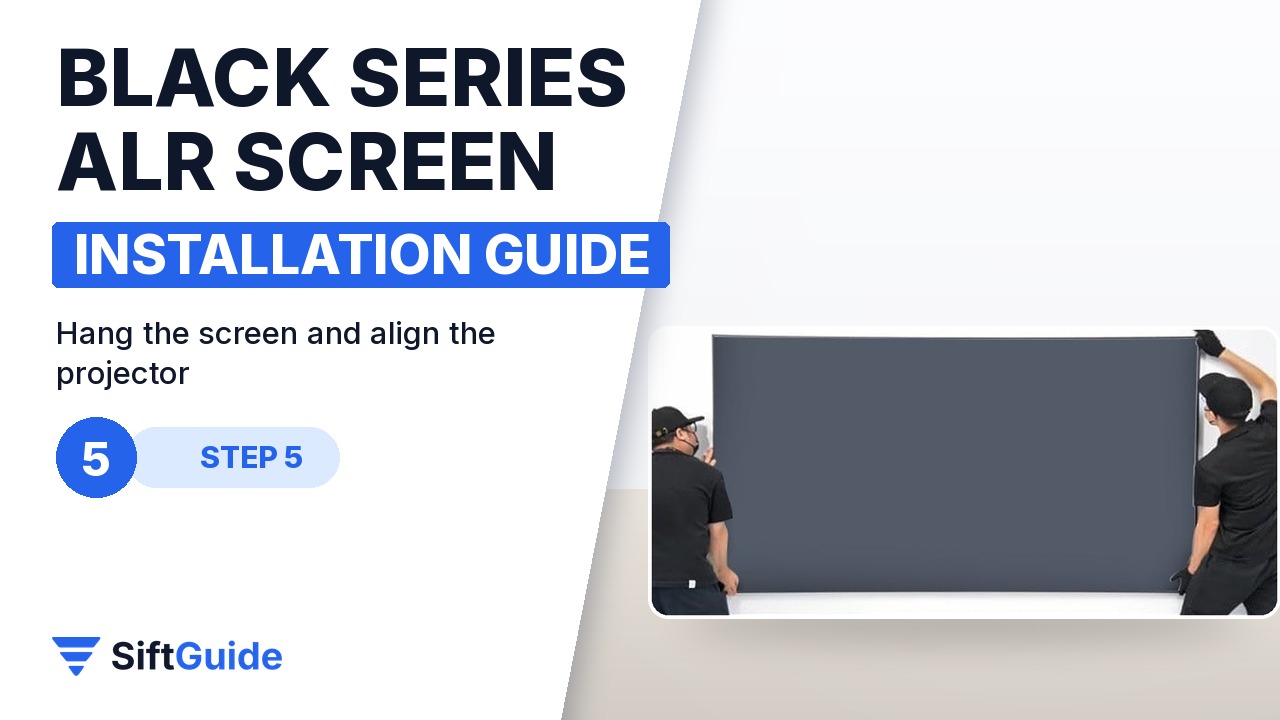
With two people, lift the screen and hook it onto the wall brackets, then check that it hangs level. Turn on the projector and move it, rather than using digital keystone, until the image fills the frame edge to edge. Keystone correction scales the picture digitally and costs sharpness; physical placement keeps the full resolution. The screen supports resolutions up to 8K, plus HDR and active 3D content.
Tip: mark the projected image before you drill
Put the projector in its final position and project a test pattern onto the bare wall first. Mark the four corners of the image with painter’s tape, then place the brackets so the screen frame lands on those marks. It is much faster than trying to slide a projector into place after the screen is already on the wall.
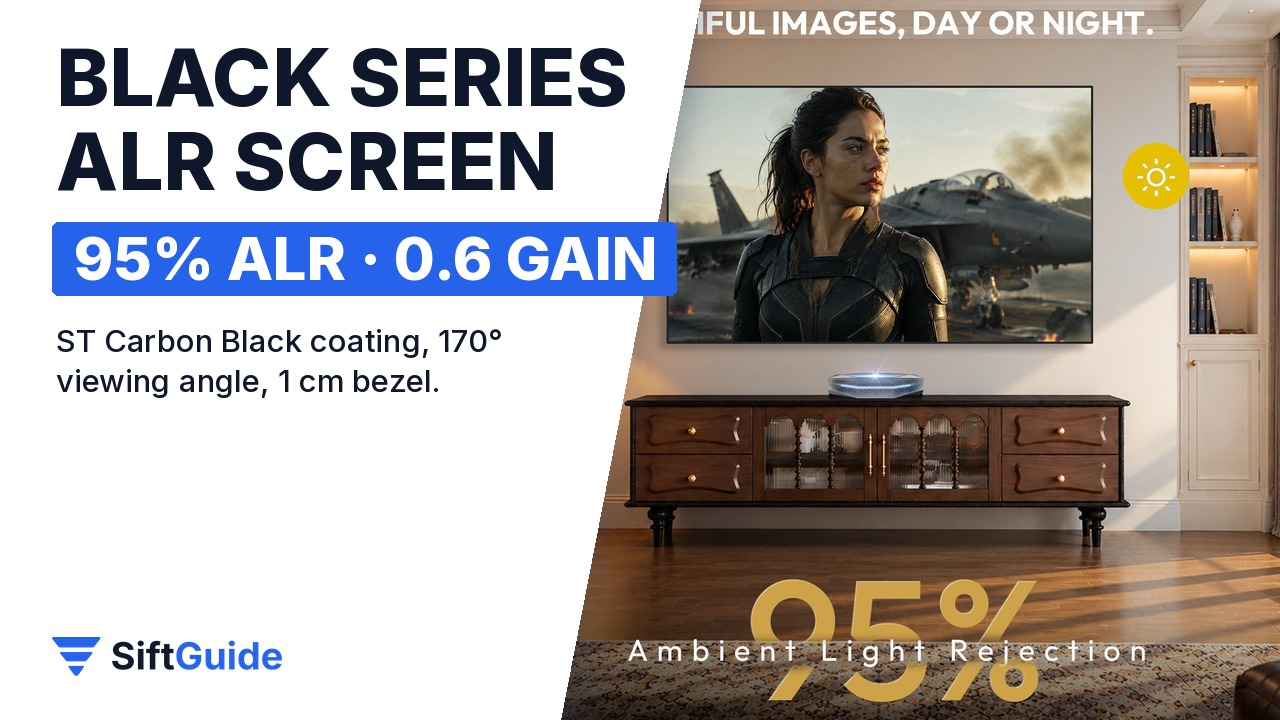
Built this way, the Black Series turns a UST projector into something that behaves more like a large TV: the 95% ambient light rejection and ST Carbon Black coating keep blacks deep with the lights on, and the fixed tensioned frame keeps the surface flat, which is what NothingProjector itself recommends for UST setups. It is a wall-mounted, front-projection screen, so it is not suited to long-throw projectors mounted on a ceiling.
NothingProjector Black Series ALR/CLR UST Projector Screen
Fixed-frame screen for ultra short throw projectors: 95% ambient light rejection, 0.6 gain, ST Carbon Black coating, 170° viewing angle, up to 8K, HDR and active 3D support, 1 cm ultra-narrow bezel, frosted aluminum frame with spring tensioning. Prices on nothingprojector.com on 14 November 2026: $629 (84″), $649 (92″ or 100″), $1,199 (110″ or 120″), from $2,299 for the 130-150″ spliced sizes. In stock, with a 30-day money back guarantee and a 1-year warranty.
FAQ
Can I use the Black Series screen with a normal long-throw projector?
No. It is designed for ultra short throw projectors only; long-throw projectors need a different screen material.
Why a fixed frame instead of a pull-down screen for UST?
UST projectors hit the screen at a very steep angle, so small ripples become visible. NothingProjector recommends a fixed-frame or tensioned screen like the Black Series for that reason.
What does 0.6 gain mean?
The surface reflects less light than a plain white screen, which prevents hot spots with UST projection and gives deeper blacks and stronger contrast.
Which projectors does it work with?
UST projectors from brands such as Hisense, AWOL and BenQ, according to NothingProjector.
Which sizes are available?
84, 92, 100, 110 and 120 inches in one piece, and 130, 135, 143 and 150 inches as spliced versions.