
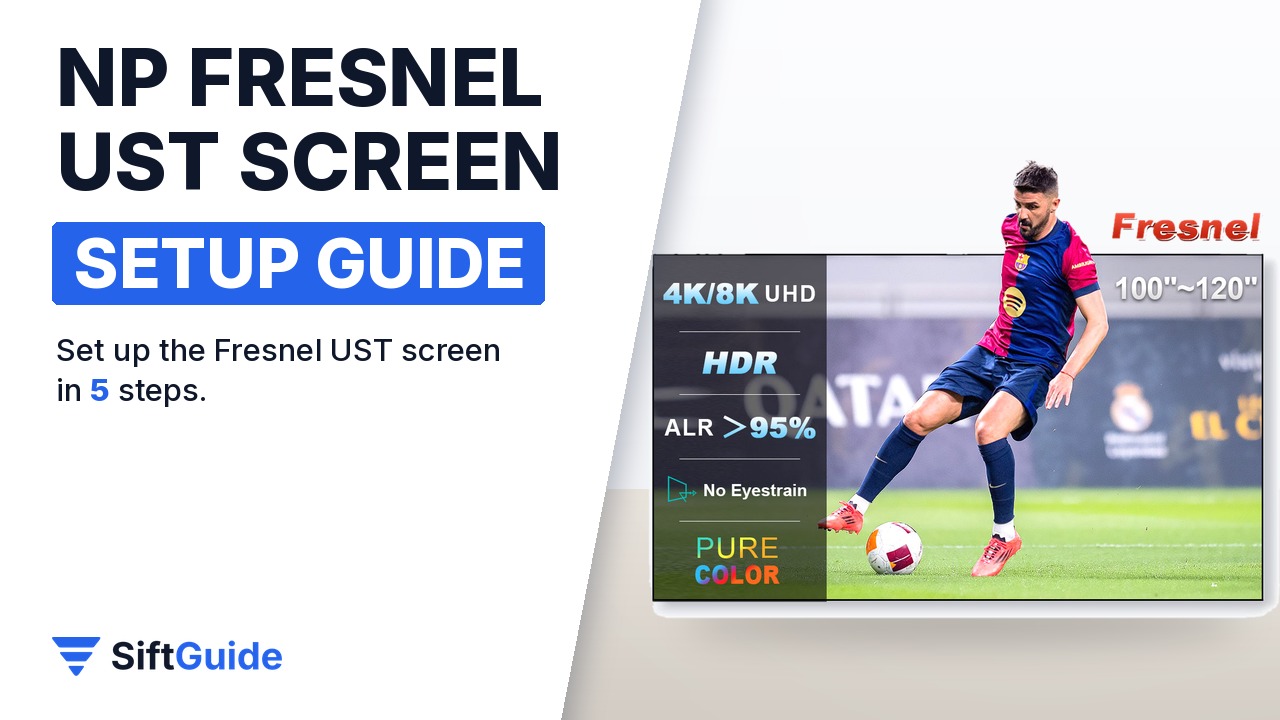
A Fresnel screen is the part of a UST setup that people underestimate: it is rigid, it only works one way up, and it only works with ultra short throw projectors. Get the assembly right and you get the point of buying one, a bright picture that holds up with the lights on. NothingProjector’s Fresnel ALR screen comes in 100 and 120 inches, with a 1.2 gain, more than 95% ambient light rejection and a 1 cm bezel. This guide follows the official product page and NothingProjector’s fixed-frame screen manual, which covers rigid screens including the Fresnel.
What you need
- The complete screen kit (frame bars, splice bars, corner connectors, fiberglass rods, springs, screws and mounting hardware), checked against the parts list in the manual
- A cross screwdriver (the kit includes two) and a clean, soft surface large enough to lay the screen on
- A second person: NothingProjector recommends two people when positioning the inner frame
- An ultra short throw (UST) projector and its throw-distance figures; this screen is not for standard or long-throw projectors
Step 1: Check the size and throw distance
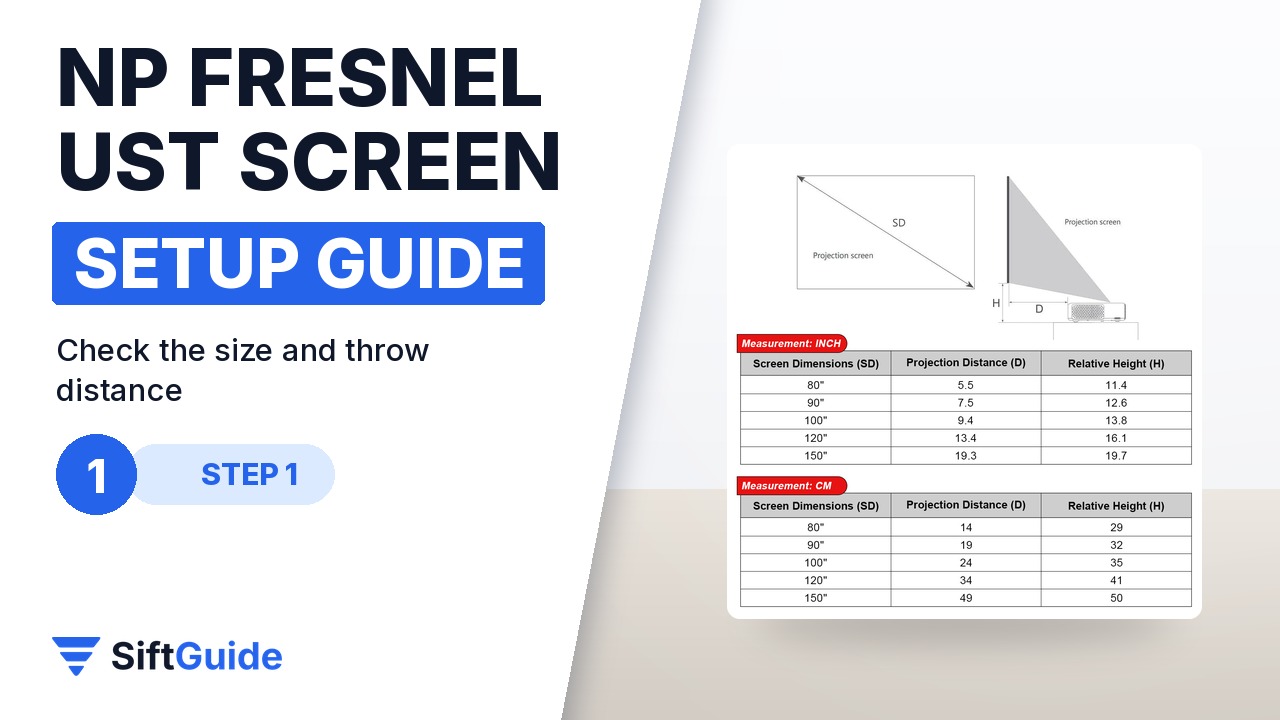
Before you unpack anything, confirm the size against your projector. The product page lists the screen as compatible with UST projectors only, and the listing includes a measurement table with the projection distance and relative height for each screen size, plus a screen size calculator on the store. The 100-inch and 120-inch versions are the two sizes sold, and the shipping box is long, so check that it fits through your doors and hallway too.
Step 2: Build the inner frame
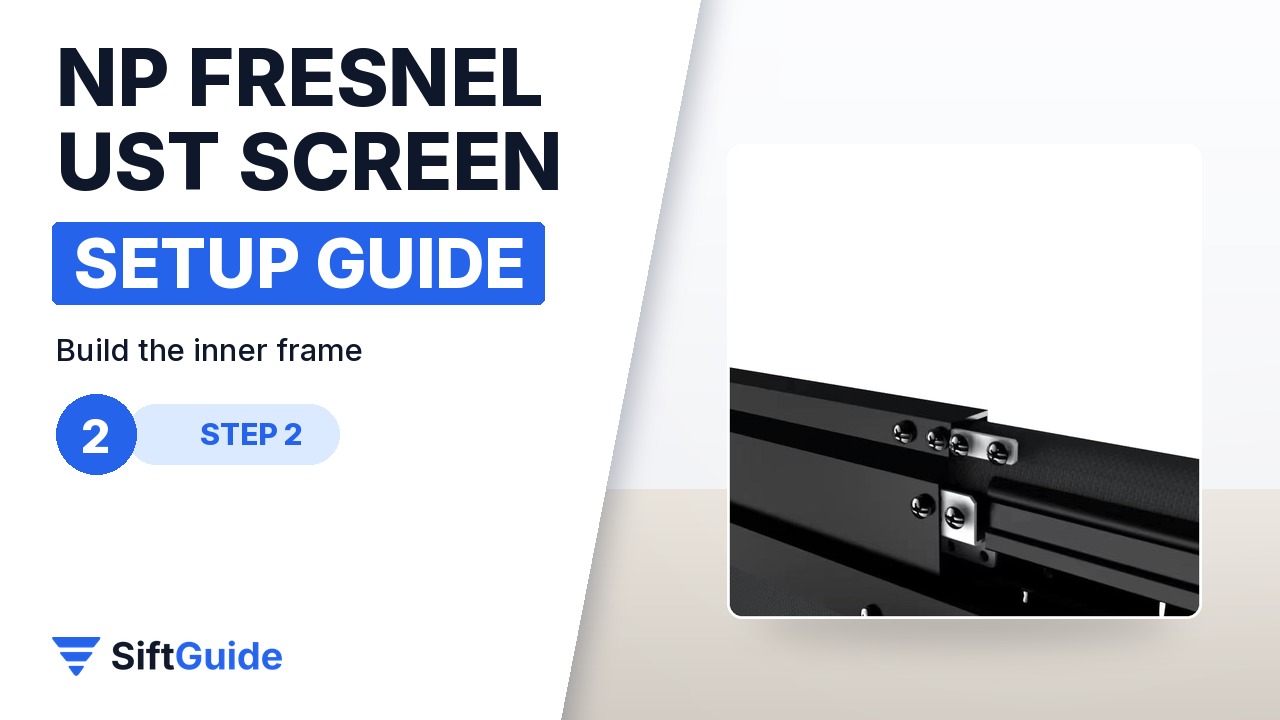
Loosen the six screws on a splice bar so the heads sit below its surface, slide it into the groove of the 1-B inner frame bar, align the cut end with the alignment mark and tighten the three M5 screws at that end. Then align the 1-A bar the same way and tighten the remaining three screws, and repeat for the other horizontal bar. Fit the inner corner brackets with M5×5 screws threaded about one turn, join the vertical bars, tighten all the corner bracket screws, and finally lift the frame and secure the support bar with four M4×8 screws.
Step 3: Fit the screen, rods and springs
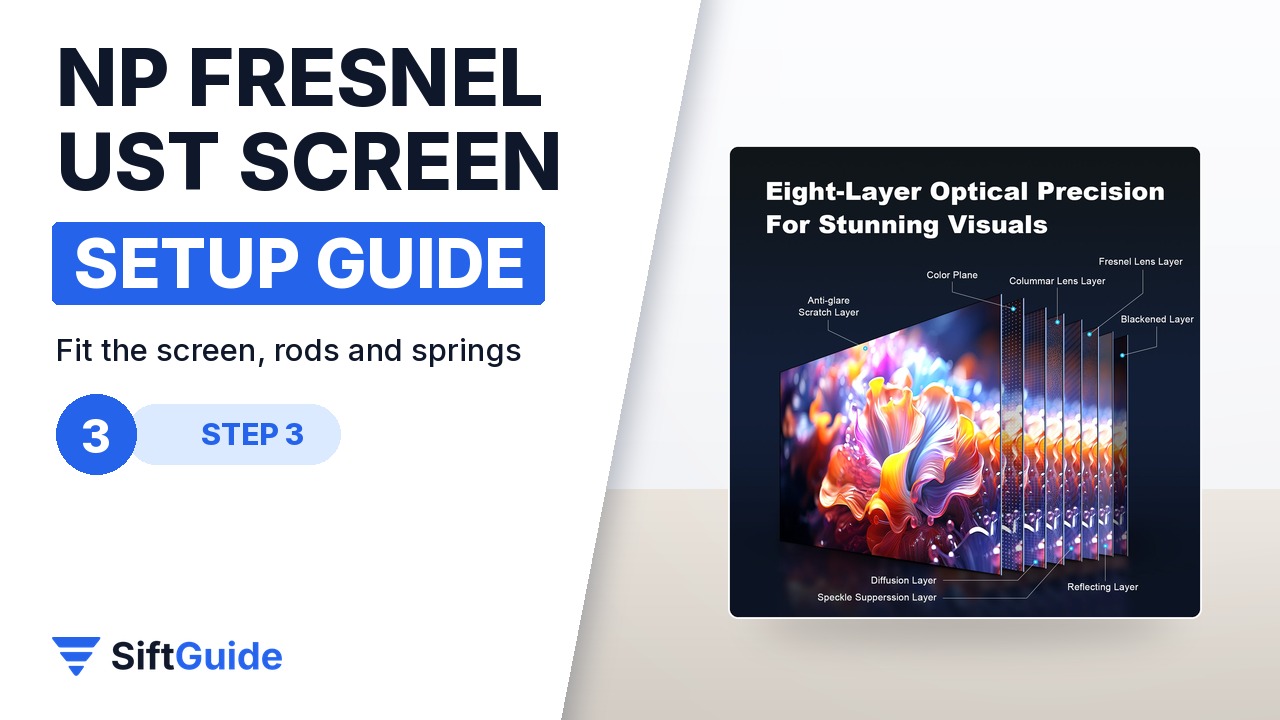
Unroll the screen with its back side facing up on a clean surface, check the positions of the six fiberglass rods and insert them into their rod pockets. Lay the inner frame on the screen so that the distance from each frame corner to the mitered edge of the fabric is the same all round, then hook the springs in the order shown in the manual. The Fresnel is a rigid screen, so if a corner wrinkles, unhook the spring there, pull the stitched leather tab outward until the wrinkle is gone and reattach the spring. Do not press on the viewing surface.
Step 4: Add the outer frame
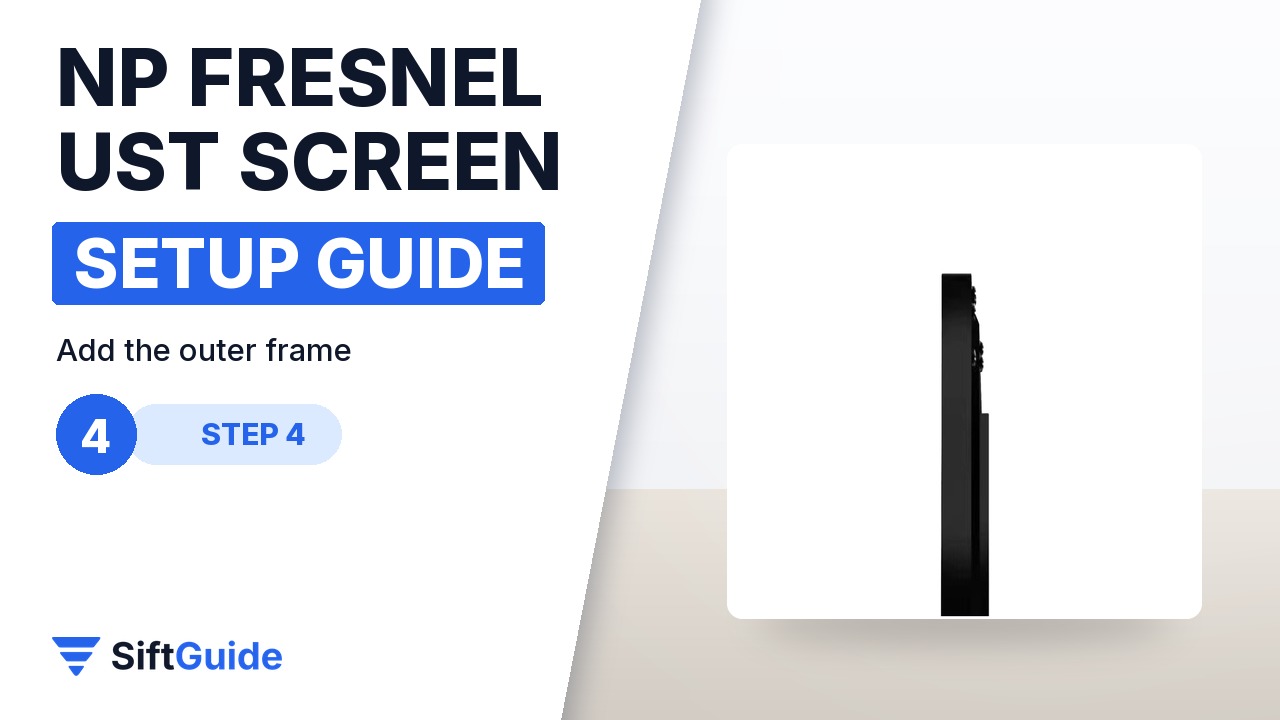
Assemble the outer horizontal bars around the inner frame, threading the M4 screws only about one turn at first. NothingProjector’s manual asks you to lift the inner frame slightly while you do this, so the outer frame cannot scratch the screen surface. Add the outer vertical bars, tighten all the M4 screws once both sides are in place, then fit the four outer frame corner protectors. The result is the frosted aluminium frame with the 1 cm bezel shown on the product page.
Step 5: Mount it and align the projector
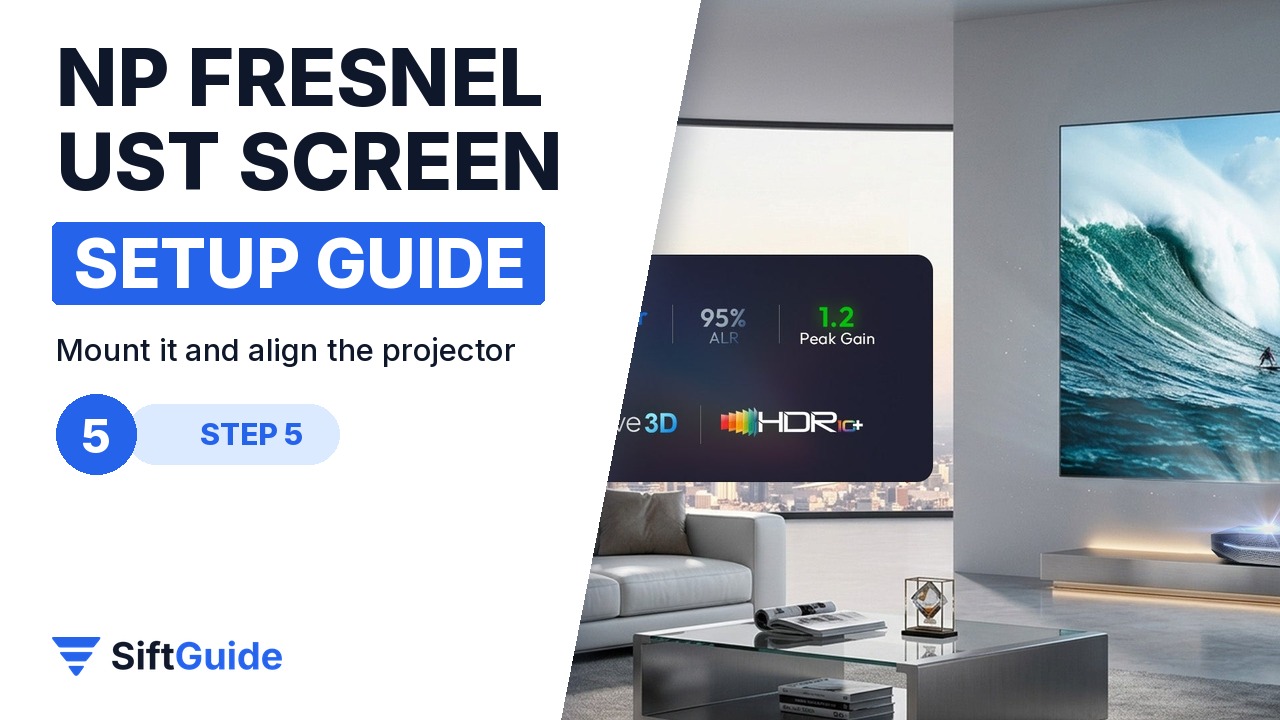
An ALR screen has a correct orientation. With a UST projector below the screen, which is the normal setup, the UP arrow on the screen must point up; with the projector above the screen, it points down. Hang the screen on its wall brackets as shown in the manual, then place the UST projector on its cabinet or stand in front of it and adjust the projector position, focus and image geometry until the picture fills the frame. A Fresnel surface rewards careful alignment: a picture that is square to the frame looks noticeably brighter and more even.
Tip: decide the projector position before you drill
Put the projector where it will live and project a test picture on the wall first, then mark the screen position from the picture. Moving a UST projector a few centimetres changes the image size a lot, and it is easier to move a cabinet than a drilled bracket.
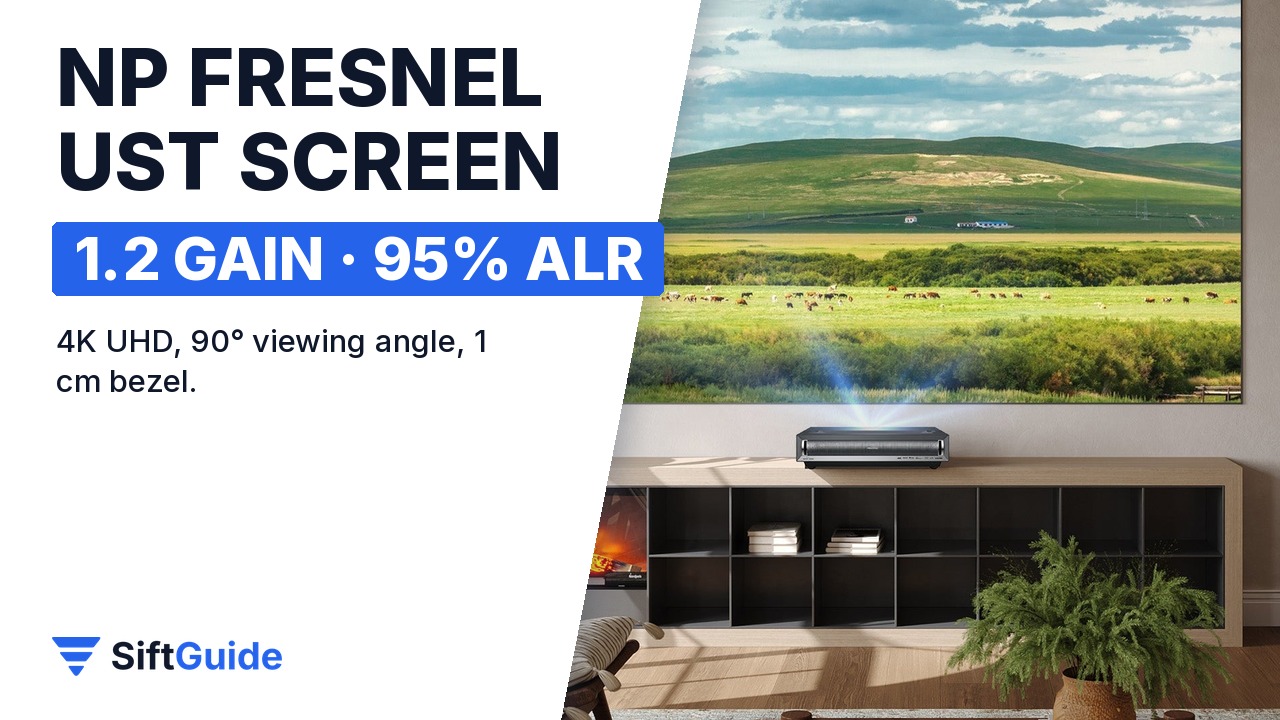
Once it is up, the specifications are what you bought it for: 1.2 gain, ambient light rejection above 95% according to NothingProjector, a 90° viewing angle, 4K UHD and active 3D support, 99.7% Rec.709 colour coverage claimed for the surface, and an anti-glare, scratch-resistant layer that NothingProjector says is easy to clean. The narrower viewing angle of a Fresnel surface is the trade-off, so it suits rooms where everyone sits roughly in front of the screen.
NothingProjector Fresnel Screen for Ultra Short Throw Projectors (100″ / 120″)
Fixed-frame Fresnel ALR screen for UST projectors only: 1.2 gain, ambient light rejection above 95%, 90° viewing angle, 4K UHD and active 3D, 16:9 ratio, 1 cm bezel and a frosted aluminium frame; the 120-inch version is the 4th-generation Fscreen and has its own manual and installation video on the product page. Price on the official NothingProjector EU store: €534.65 for 100 inches (regular €699) and €1,061.65 for 120 inches (regular €1,299), listed in stock; the store notes that discount codes do not apply to this product.
FAQ
Does the Fresnel screen work with a normal projector?
No. NothingProjector lists it as compatible with ultra short throw projectors only. For long-throw projectors, look at a long-throw screen instead.
Which way up does it go?
With the projector below the screen, as with a UST projector on a cabinet, the UP arrow points up. With the projector above the screen, it points down.
Can one person assemble it?
The manual recommends two people when positioning the inner frame on the screen, and the screen is large, so plan for a helper.
How do I remove a wrinkle at a corner?
On rigid screens such as the Fresnel, unhook the spring at the wrinkled area, pull the stitched leather tab outward until the wrinkle is smoothed out, then reattach the spring.
What gain and viewing angle does it have?
1.2 gain and a 90° viewing angle, with ambient light rejection above 95%, according to the product page.
Which sizes are available?
100 inches and 120 inches. The 120-inch model is the 4th-generation Fscreen, with its own instructions manual and installation tutorial linked on the product page.