
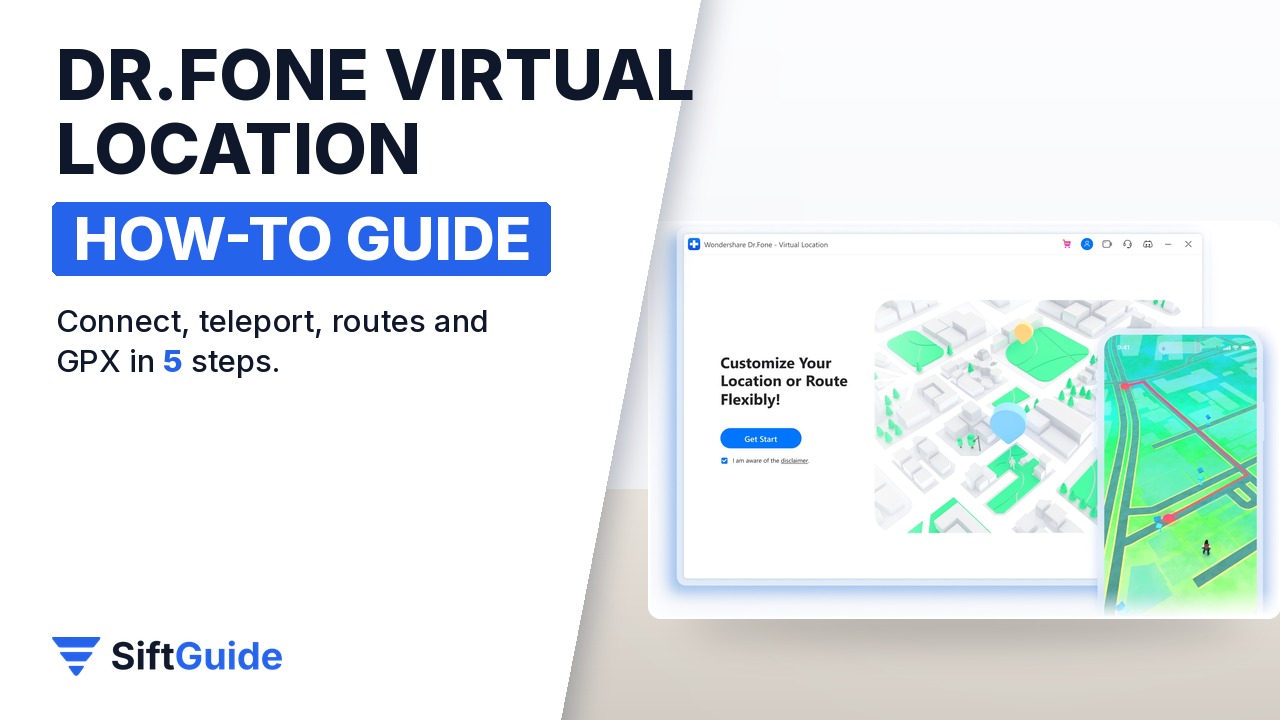
Dr.Fone Virtual Location is the GPS location changer inside Wondershare’s Dr.Fone toolkit. It runs on a Windows PC or a Mac, takes control of the location your iPhone or Android phone reports, and lets you jump to any address, move along a route at a set speed or steer with a joystick, without jailbreaking iOS or rooting Android. Developers use it to test location-based apps, travellers to preview how apps behave in another city, and privacy-minded users to keep their real position out of apps that do not need it. The steps below follow Wondershare’s own setup guides, in the order you will actually need them.
What you need
- A Windows PC or a Mac with Dr.Fone installed (the free download includes Virtual Location; changing the location needs a plan)
- Your iPhone or Android phone and its USB cable
- On iPhone: the passcode, to switch on Developer Mode
- On Android: Developer Options turned on, for USB debugging and the mock location setting
- Optional: the same Wi-Fi network for phone and computer, for cable-free use on iPhone
Step 1: Install Dr.Fone and open Virtual Location
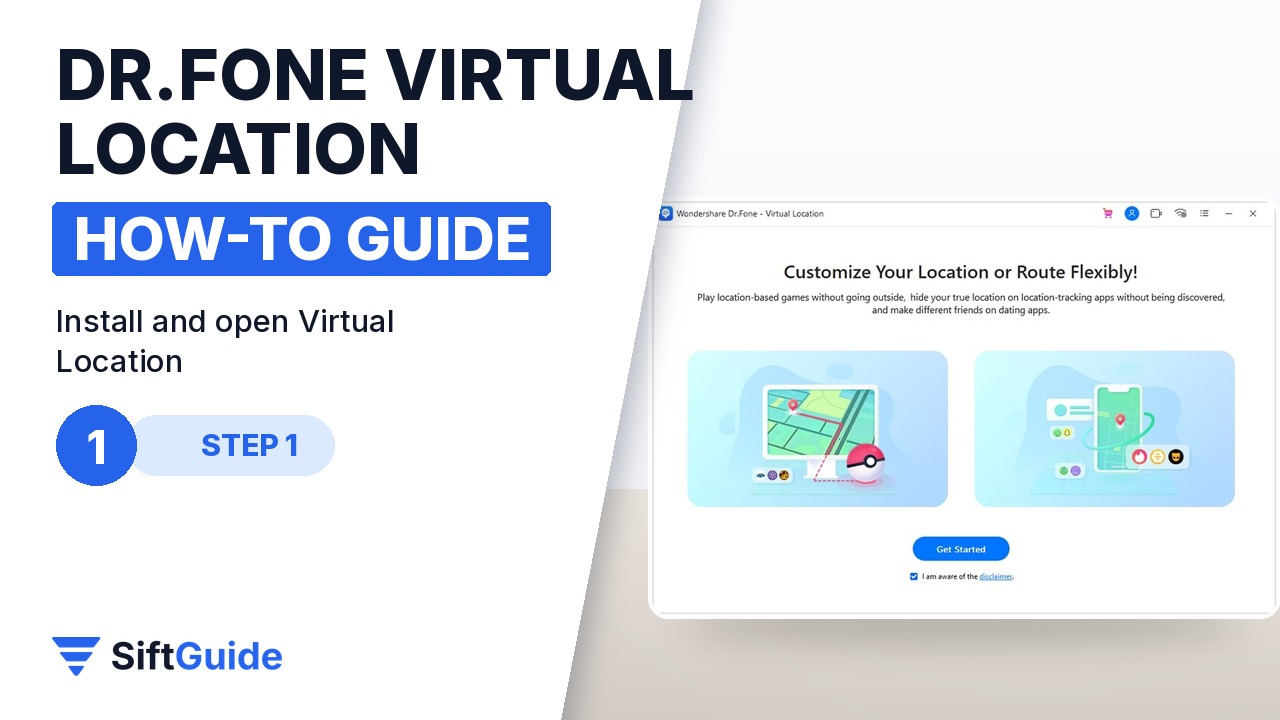
Download Dr.Fone from the official site and install it. Open the Toolbox, choose Virtual Location and click Get Started on the welcome screen. The next window shows a map; until a phone is connected, the button at the top centre reads No Device. The Mac version still uses the older interface, but the functions and the order of the steps are the same.
Step 2: Connect your iPhone or Android phone
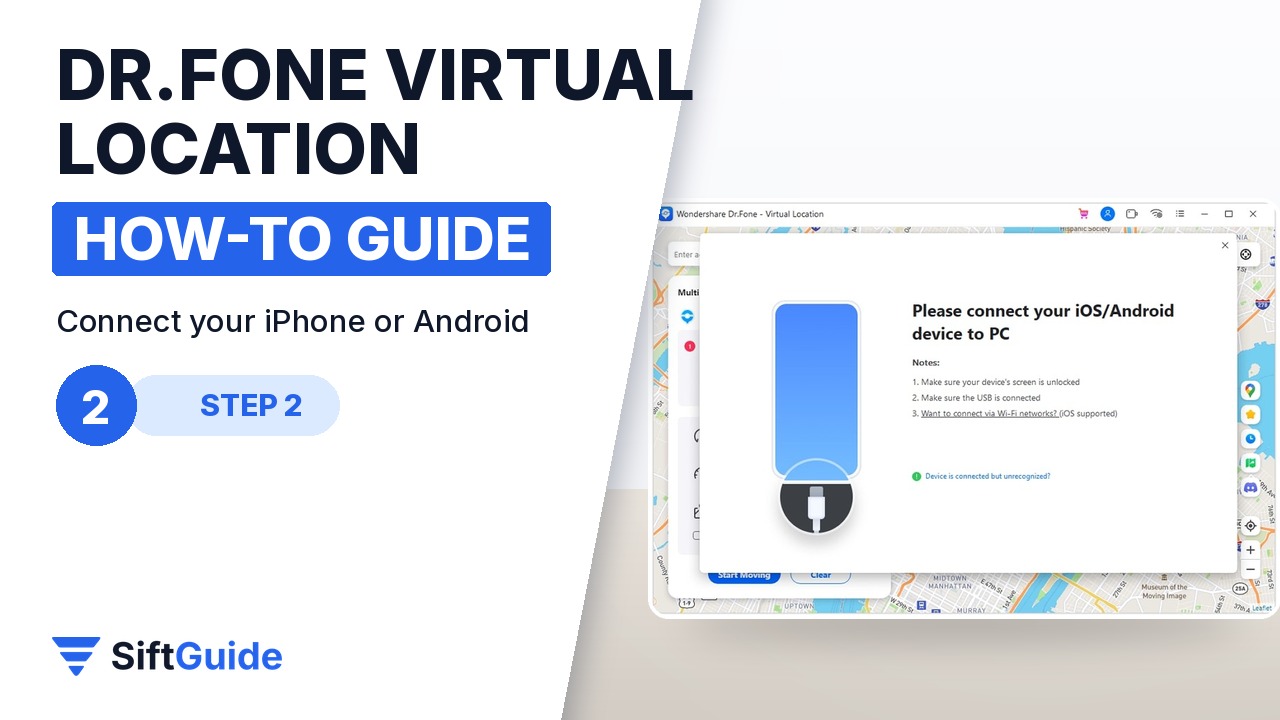
Plug the phone in with its USB cable, click No Device, select your phone and click Next. On an iPhone, Dr.Fone asks you to open Settings, Privacy & Security, Developer Mode and turn it on; the iPhone restarts, then you unlock it, tap Turn On and enter your passcode. On Android, allow USB debugging when the phone asks (click Show Again on the computer if the prompt does not appear), then open Developer Options, tap Select mock location app and choose dr.fone. After the first USB connection, an iPhone can also be connected over Wi-Fi, as long as both devices are on the same network.
Step 3: Teleport to any address
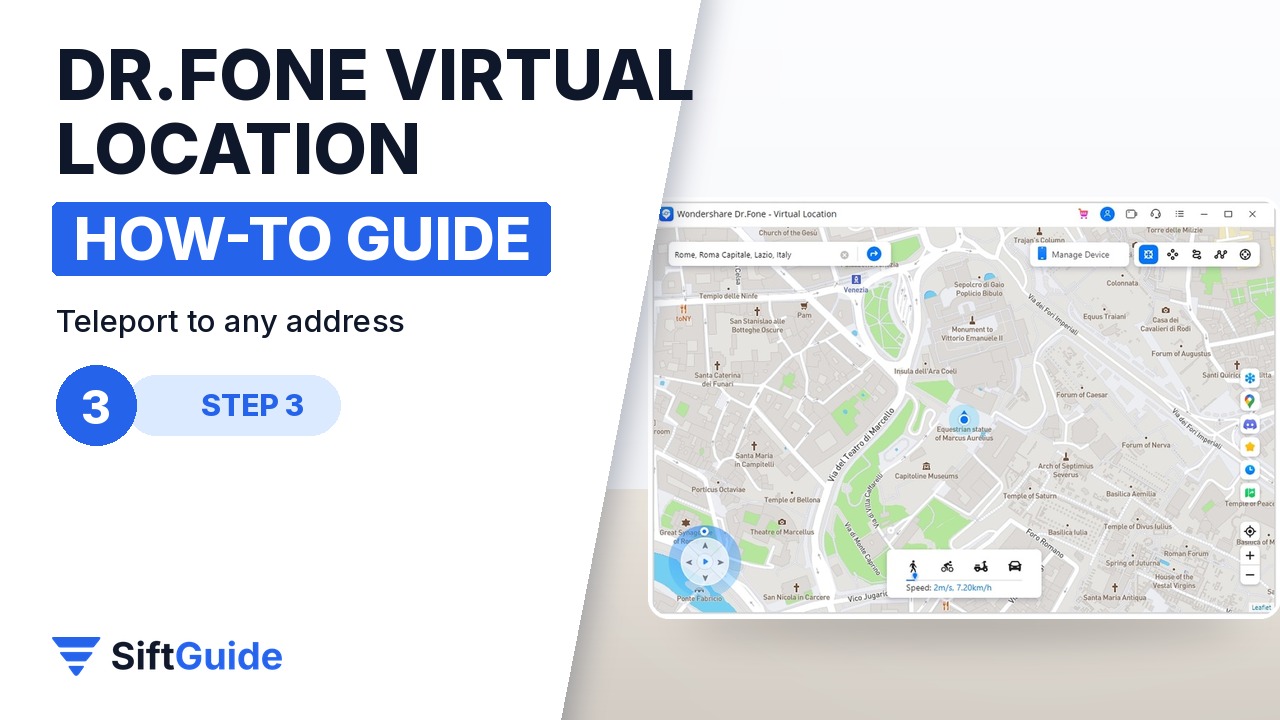
Teleport Mode is the first icon in the top-right group. Click the search bar in the top-left corner, type an address or a place name and press Enter. The map jumps to that spot and asks for confirmation: click Move Here. Open the maps app on your phone and the blue dot now sits at the new location. Jump Teleport Mode, the second icon, lets you mark several spots and hop between them with the Next Point and Last Point buttons.
Step 4: Simulate a route, or steer with the joystick
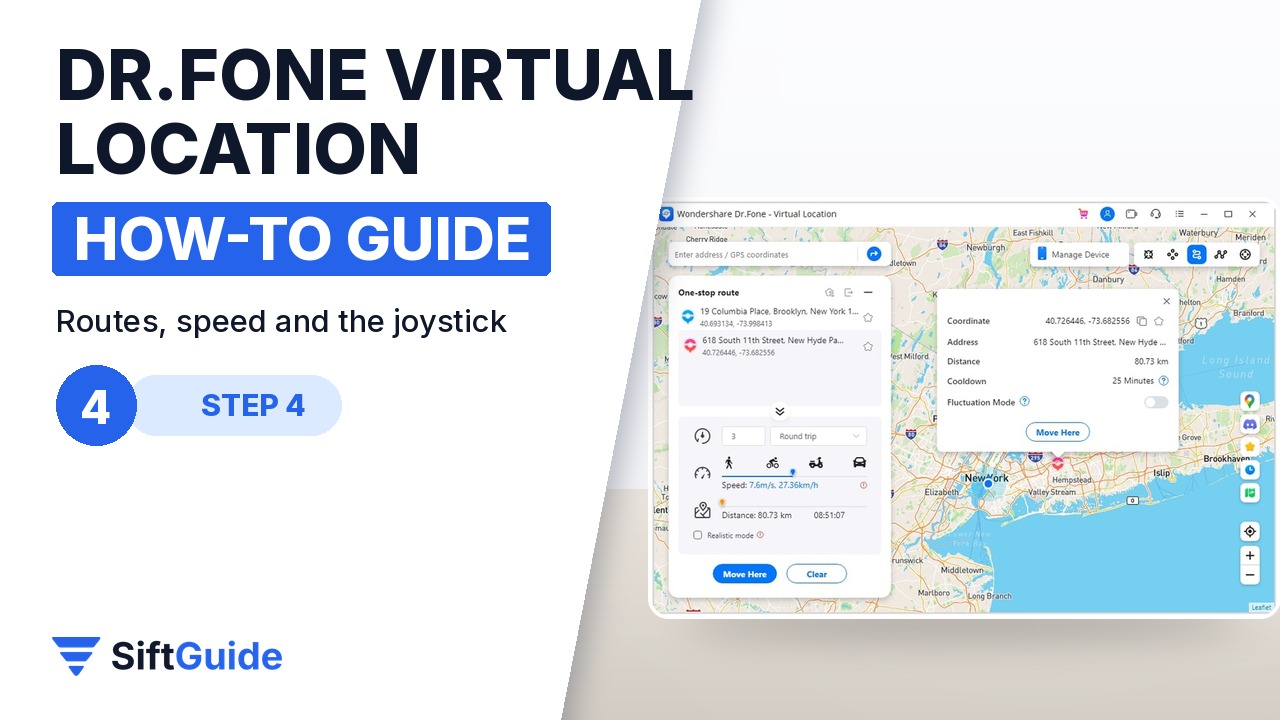
For movement rather than a jump, pick One-Stop Route (third icon) and click a destination on the map, or Multi-Stop Route (fourth icon) and click several points along a road. Set how many times to repeat the trip, choose Round trip or Loop trip, drag the speed slider and click Move Here or Start Moving; Pause and Clear stop it at any time. Speeds go from walking to driving pace, 3.6 to 108 km/h (about 2 to 67 mph). Realistic Mode varies the speed slightly. The joystick, at the bottom left in Teleport Mode, moves the position in real time: click Start for automatic movement, or hold W, A, S, D or the arrow keys.
Step 5: Save routes, use the history and get your real location back
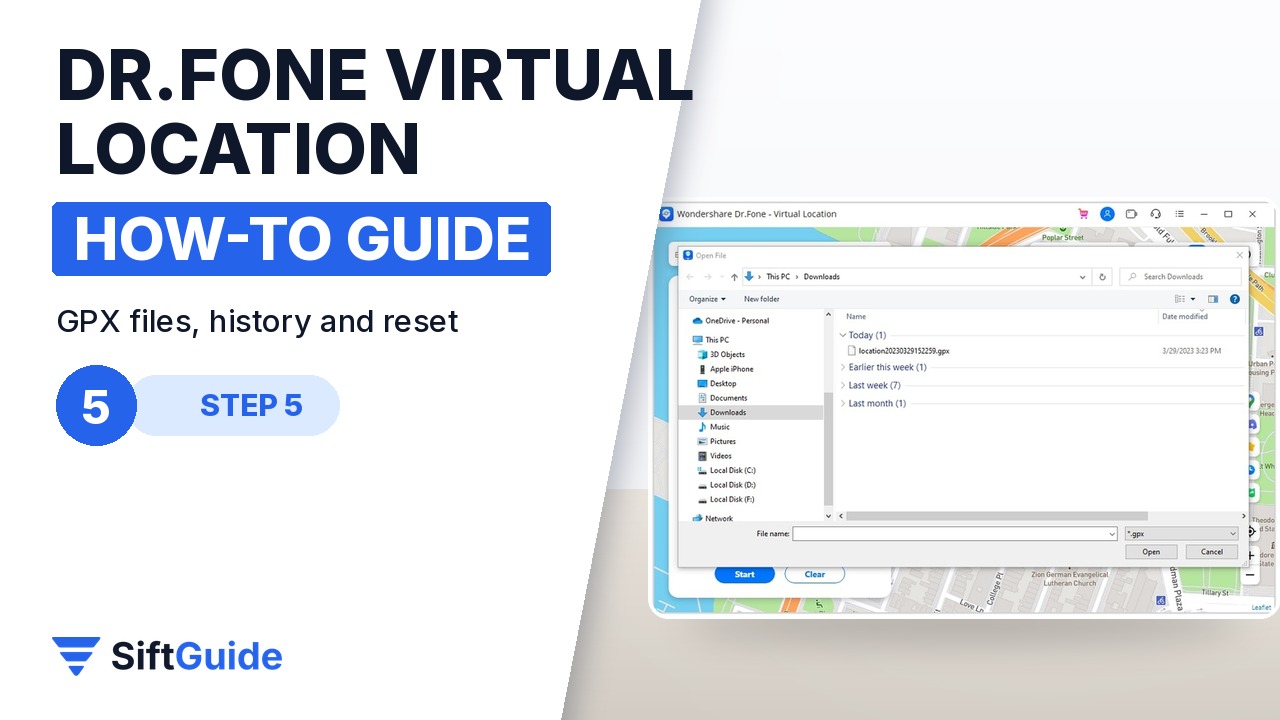
Routes you reuse can be exported as GPX files with the Export icon and imported again with the Import button on the right; Dr.Fone reads the file and draws it on the map. Historical Records lists every location you used, with a Go button to repeat it, and the Favorite icon keeps your saved spots and routes. The Cooldown Timer calculates a waiting time from the distance of each jump. When you are done, close Virtual Location and click Restart Device: restarting the phone restores its real GPS position.
Tip: check the rules of the app first
Many games, dating apps and streaming services forbid location spoofing in their terms of use and can suspend accounts that jump around the map. Dr.Fone’s own Cooldown Timer exists for exactly this reason. For app testing, privacy or a quick look at how a service behaves in another city, keep the jumps realistic, use routes instead of teleports where you can, and restart the phone as soon as you are finished.
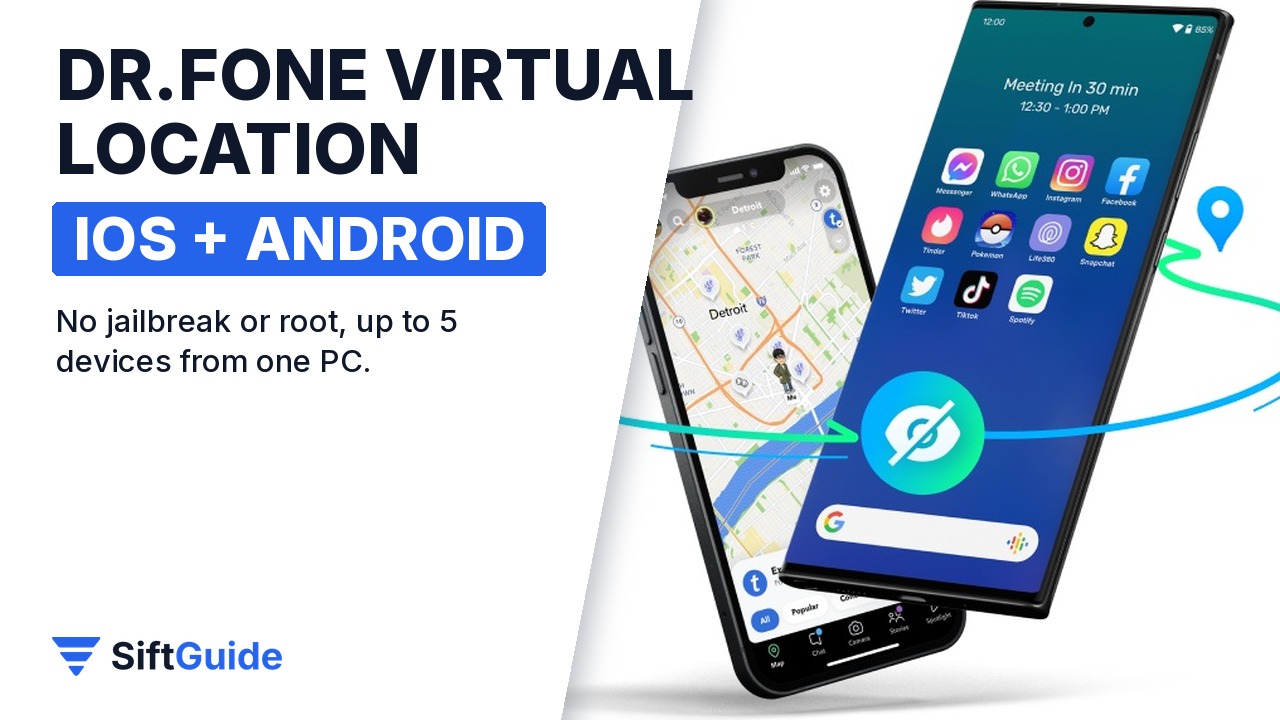
Once the phone is connected, Virtual Location is quick to use: one click for a teleport, a few clicks for a repeating route, and GPX files for anything you want to replay later. The Windows and Mac versions work with iPhone and Android, handle up to five devices from one computer, and do not require a jailbreak or root. If you only need it for a single project, the monthly plan is the cheapest way in.
Wondershare Dr.Fone – Virtual Location
GPS location changer for iPhone and Android, run from a Windows PC or a Mac: one-click teleport, jump teleport, one-stop and multi-stop routes at 3.6-108 km/h, joystick and keyboard control, realistic and fluctuation modes, cooldown timer, GPX import and export, history and favourites, up to 5 mobile devices with 1 PC, no jailbreak or root. Prices on the official Dr.Fone store on November 17, 2026 (Windows): $4.97 for the first month (regular $14.95), $9.97 per quarter or $19.97 per year, with a 7-day money-back guarantee.
FAQ
Does Dr.Fone Virtual Location need a jailbreak or root?
No. On iPhone you turn on Developer Mode, and on Android you enable USB debugging and select dr.fone as the mock location app.
Can I use it without a cable?
Yes, on iPhone, after the first USB connection, as long as the phone and the computer are on the same Wi-Fi network.
How do I get my real location back?
Close Virtual Location and choose Restart Device, or simply restart the phone. The real GPS position returns after the restart.
How many phones can I control at once?
Wondershare says up to five devices from one PC or Mac, and each plan covers 1 to 5 mobile devices with 1 computer.
Is it legal to change my GPS location?
Using a location changer on your own phone is generally allowed, but many apps and games ban it in their terms of use, so check the rules of the app before you use it.
How much does it cost?
On November 17, 2026 the official store listed $4.97 for the first month (regular $14.95), $9.97 per quarter and $19.97 per year for the Windows version.