
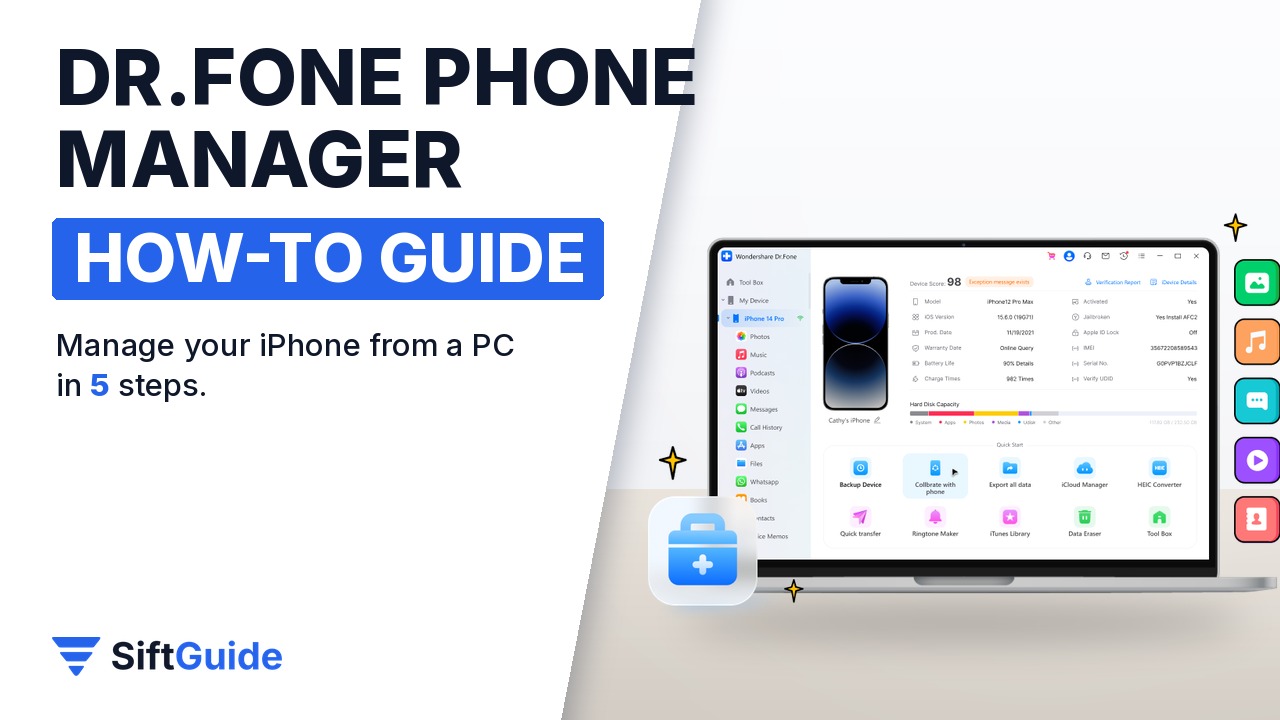
An iPhone fills up fast, and getting things off it on a Windows PC is still clumsier than it should be. File Explorer only sees part of your photo library, and iTunes wants to sync everything at once. Dr.Fone Phone Manager from Wondershare takes a different approach: you connect the phone, then pick exactly what to copy, add or clean up, one data type at a time. It handles more than 30 iOS data types, including photos, music, videos, contacts, messages, apps, notes and call history. Here is the workflow, step by step.
Disclosure: this guide contains affiliate links (Awin). If you buy through them we may earn a commission at no extra cost to you. Specs come from the official product page.
What you need
- A Windows 7, 8, 10 or 11 PC with a 1 GHz processor, at least 1 GB of RAM (2 GB recommended) and 7 GB of free disk space
- Your iPhone or iPad, unlocked, and a working USB data cable
- Dr.Fone with the Phone Manager module installed
- An empty folder on the PC or on an external drive for the exports
Step 1: Connect and trust the computer
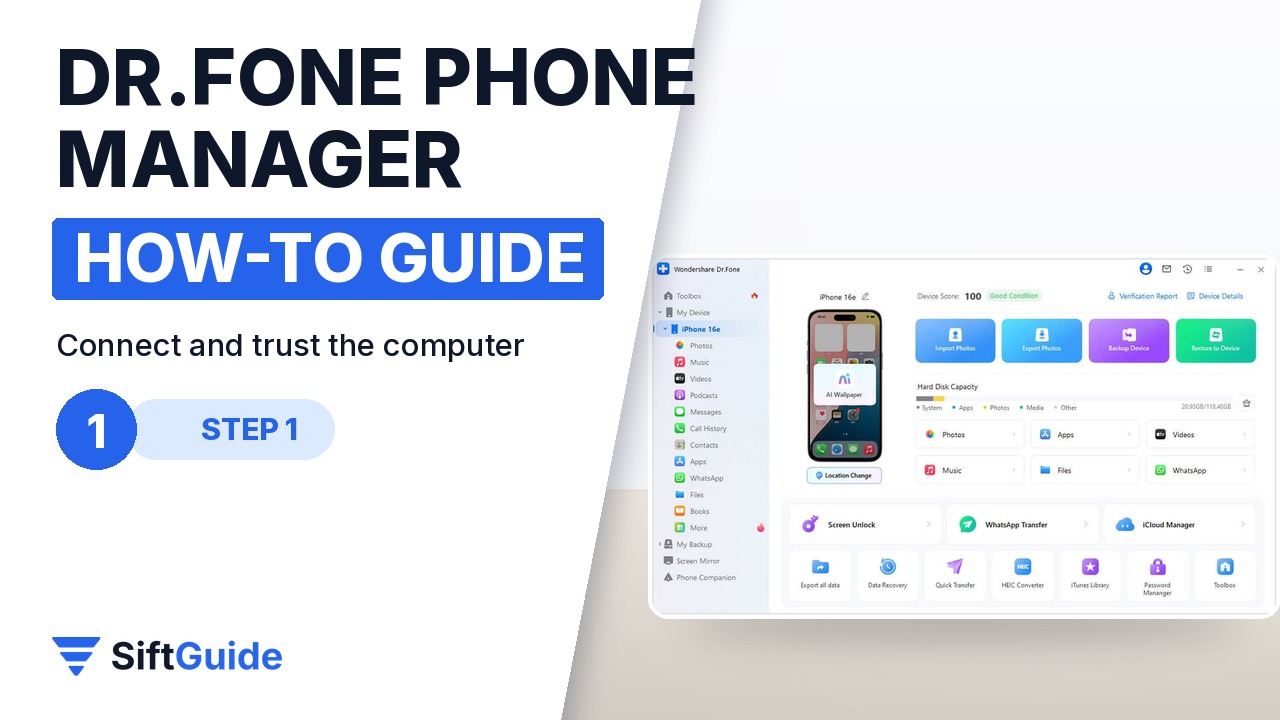
Launch Dr.Fone and plug in the iPhone with the USB cable. Unlock the phone and tap Trust when it asks whether to trust this computer, then enter your passcode. After a few seconds the device page shows the phone model, how much storage is used and shortcuts to the main data types. If the phone does not appear, try a different USB port and a different cable before anything else.
Step 2: Preview and export photos
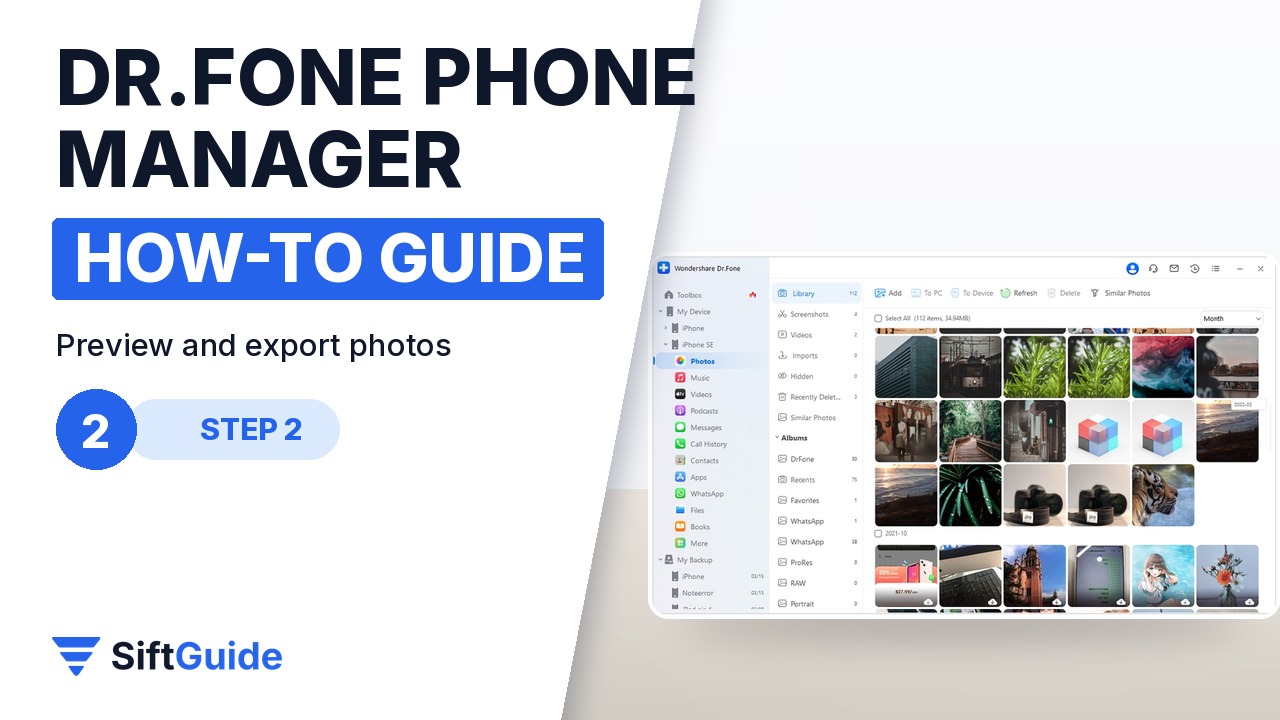
Open the Photos tab. Your pictures are grouped by album, and you can open any of them at full size to check that it is the right shot. To free up space, select a whole album, or tick individual photos, click Export and choose a folder on your PC. Exported photos stay on the phone, so check the folder on the computer before deleting anything from the iPhone.
Step 3: Manage music without iTunes
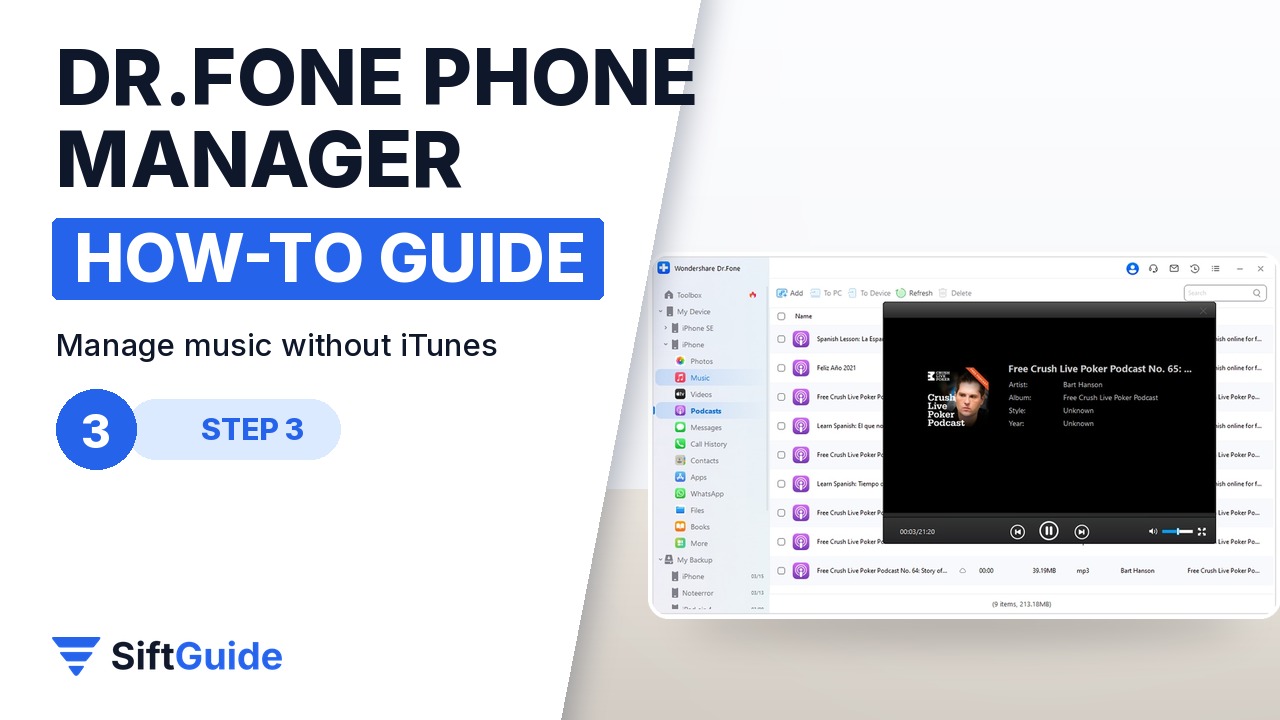
In the Music tab you can add songs from your PC straight to the iPhone, play a quick preview to make sure a track is the one you want, and delete songs you no longer need. There is also an option to send tracks from the phone to the iTunes library on your computer, which is useful when you rebuild a library on a new PC.
Step 4: Merge contacts, manage apps
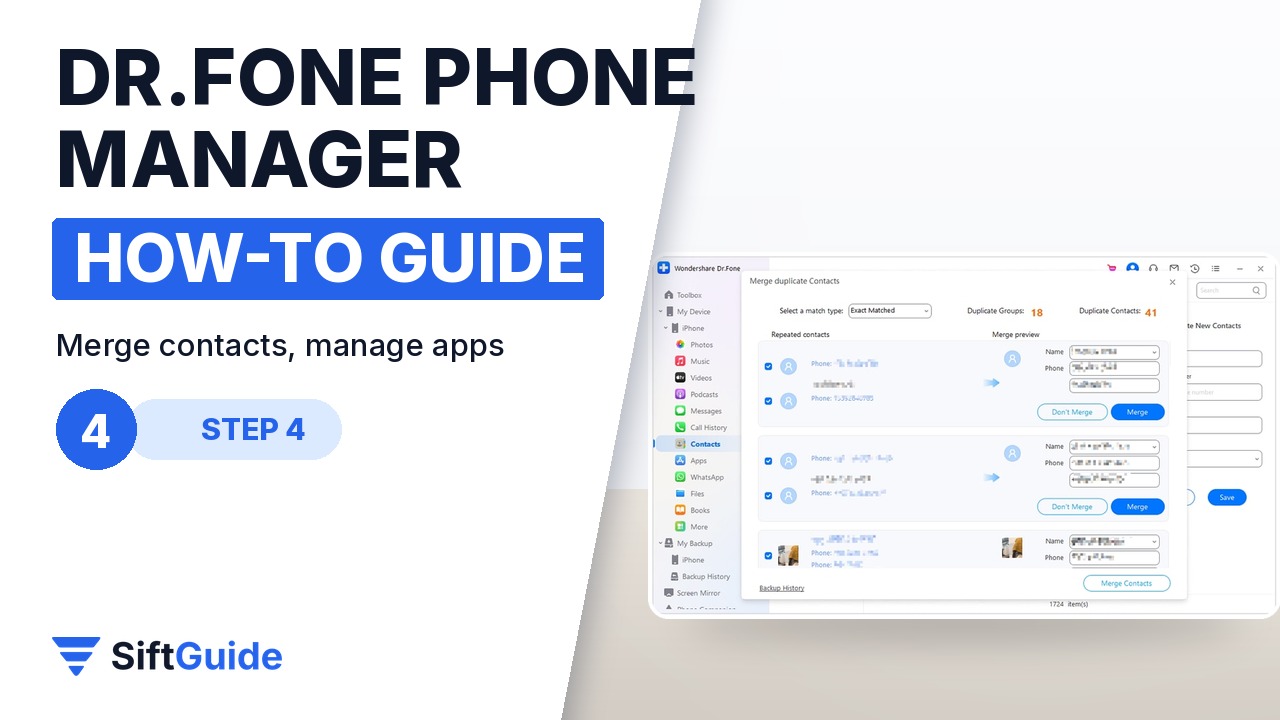
Contacts gathered from several accounts over the years tend to pile up as duplicates. In the Contacts tab, Dr.Fone can find and merge duplicate contacts automatically. In the Apps tab you can back up, install or uninstall apps in bulk instead of removing them one by one on the phone.
Step 5: Bulk-export your data
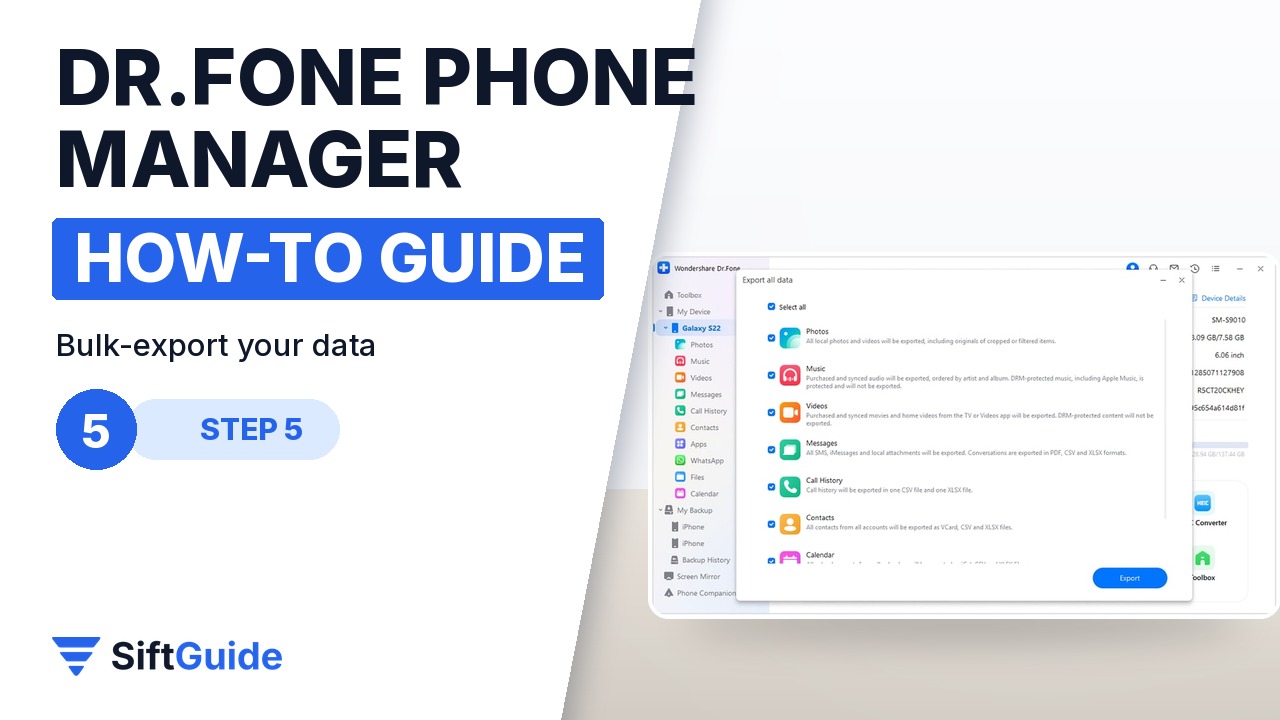
For everything else, use the export window. Tick the data types you want, such as messages, call history, notes or WhatsApp, pick a destination folder and start the export. Leave the cable plugged in until Dr.Fone shows the completed message, then open the folder and spot-check a few files.
Tip
Create one folder per export with the date in its name, for example “iPhone 2026-11-03”. When the phone gets full again, you will know exactly what is already safe on the PC and what still needs copying.
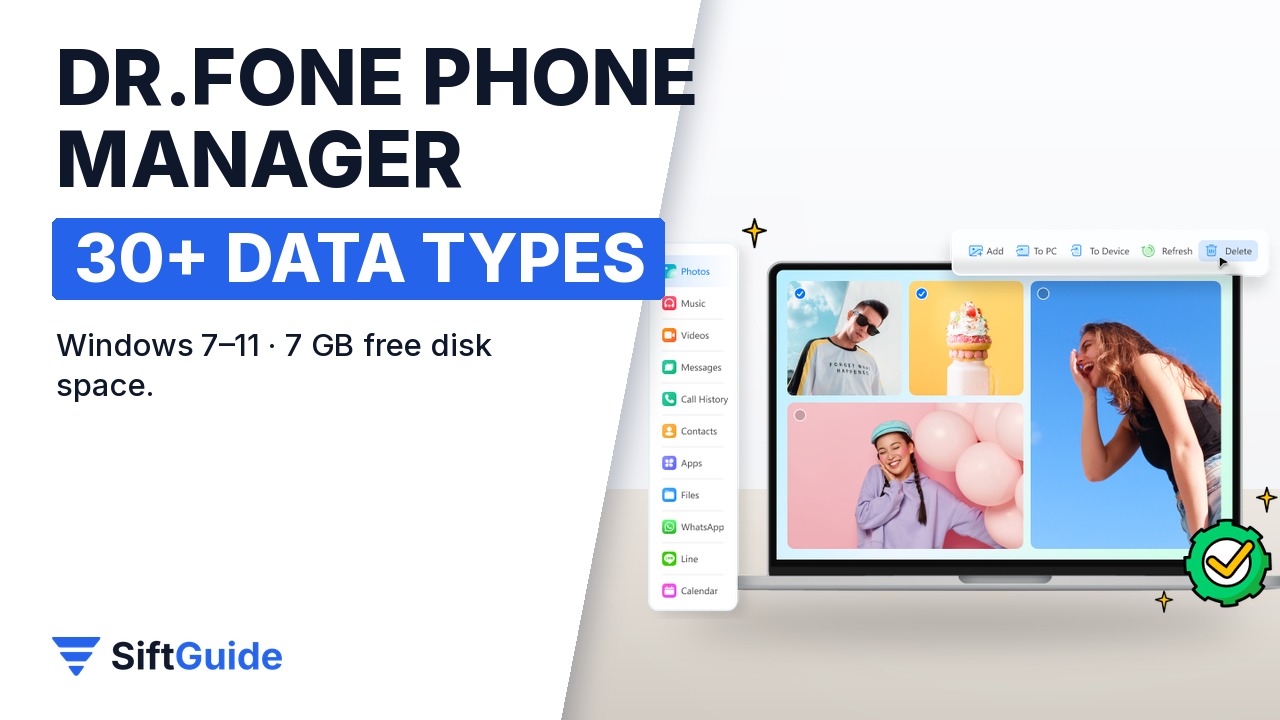
Bottom line: connect and trust the PC, then work through your data one type at a time: export photo albums, manage music without iTunes, merge duplicate contacts, clean up apps in bulk and export messages and notes. It runs on Windows 7 to 11 and needs about 7 GB of free disk space.
Wondershare Dr.Fone – Phone Manager (Windows)
Desktop manager for iPhone and iPad data on Windows 7–11: export photos and albums, add or remove music without iTunes, merge duplicate contacts, back up and uninstall apps in bulk, and export messages, call history and notes. Handles 30+ iOS data types; needs 1 GHz CPU, 1 GB RAM (2 GB recommended) and 7 GB of free disk space. Listed at $29.95 for Windows in the Wondershare affiliate catalog (November 2026); check the store for the current price and plans.
FAQ
Do I need iTunes installed?
You do not need to use iTunes to manage music with Phone Manager. Songs go from the PC to the iPhone directly, and you can still send tracks to the iTunes library if you want to.
Does exporting photos delete them from the iPhone?
No. Export copies the photos to your computer. Deleting them from the phone is a separate step you take afterwards, once you have checked the files on the PC.
Which Windows versions are supported?
Windows 7, 8, 10 and 11, with at least a 1 GHz CPU, 1 GB of RAM (2 GB recommended) and 7 GB of free disk space.
What kinds of data can it handle?
More than 30 iOS data types, including photos, music, videos, contacts, messages, apps, notes and call history.
Why does my iPhone not show up?
Unlock the phone, tap Trust on the prompt, then try another USB port or a different data cable. Charge-only cables are a common cause.